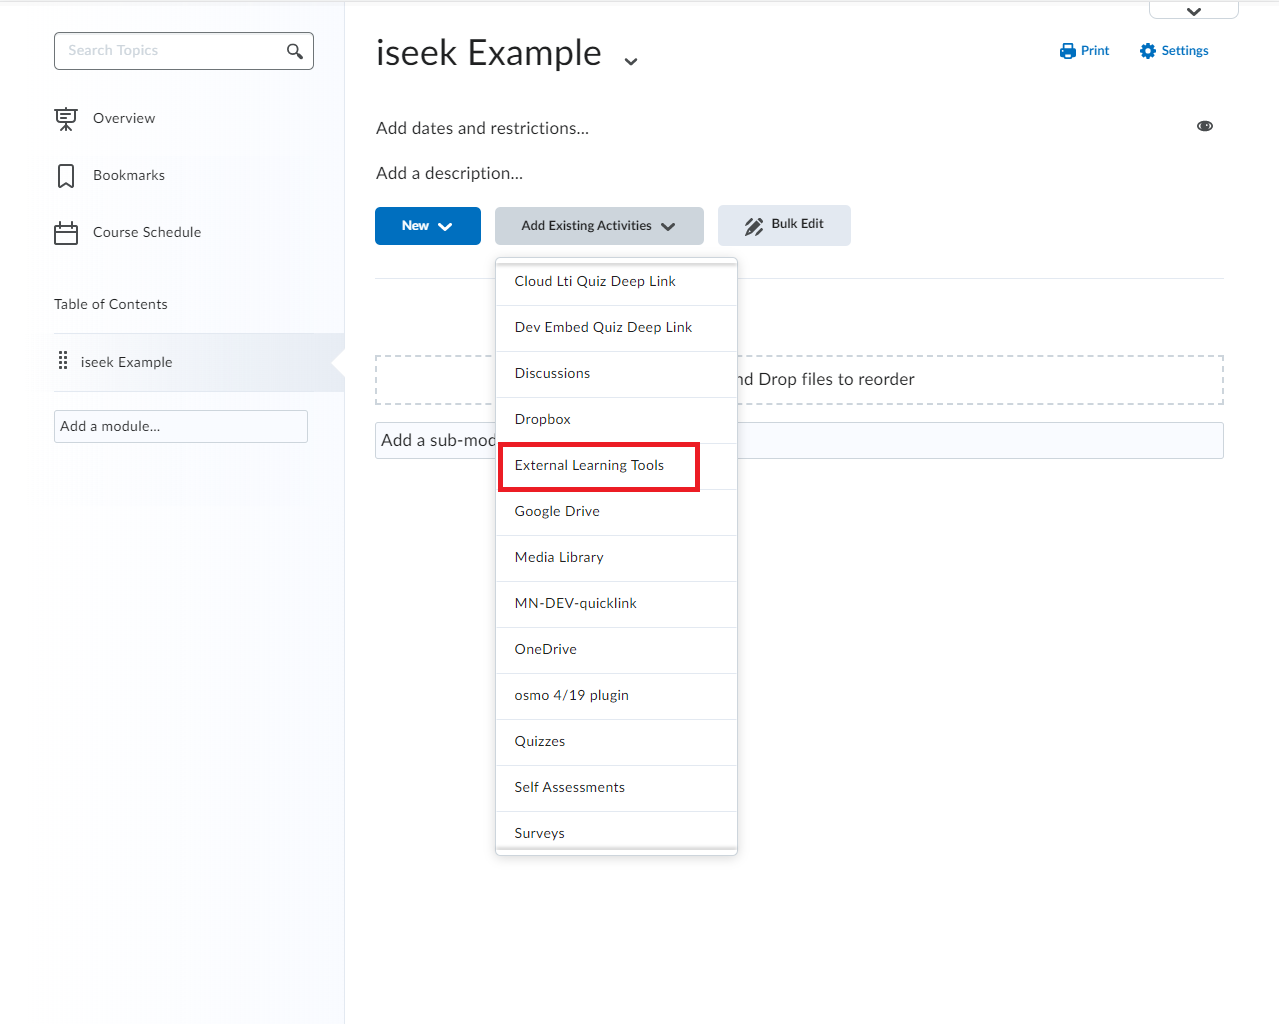
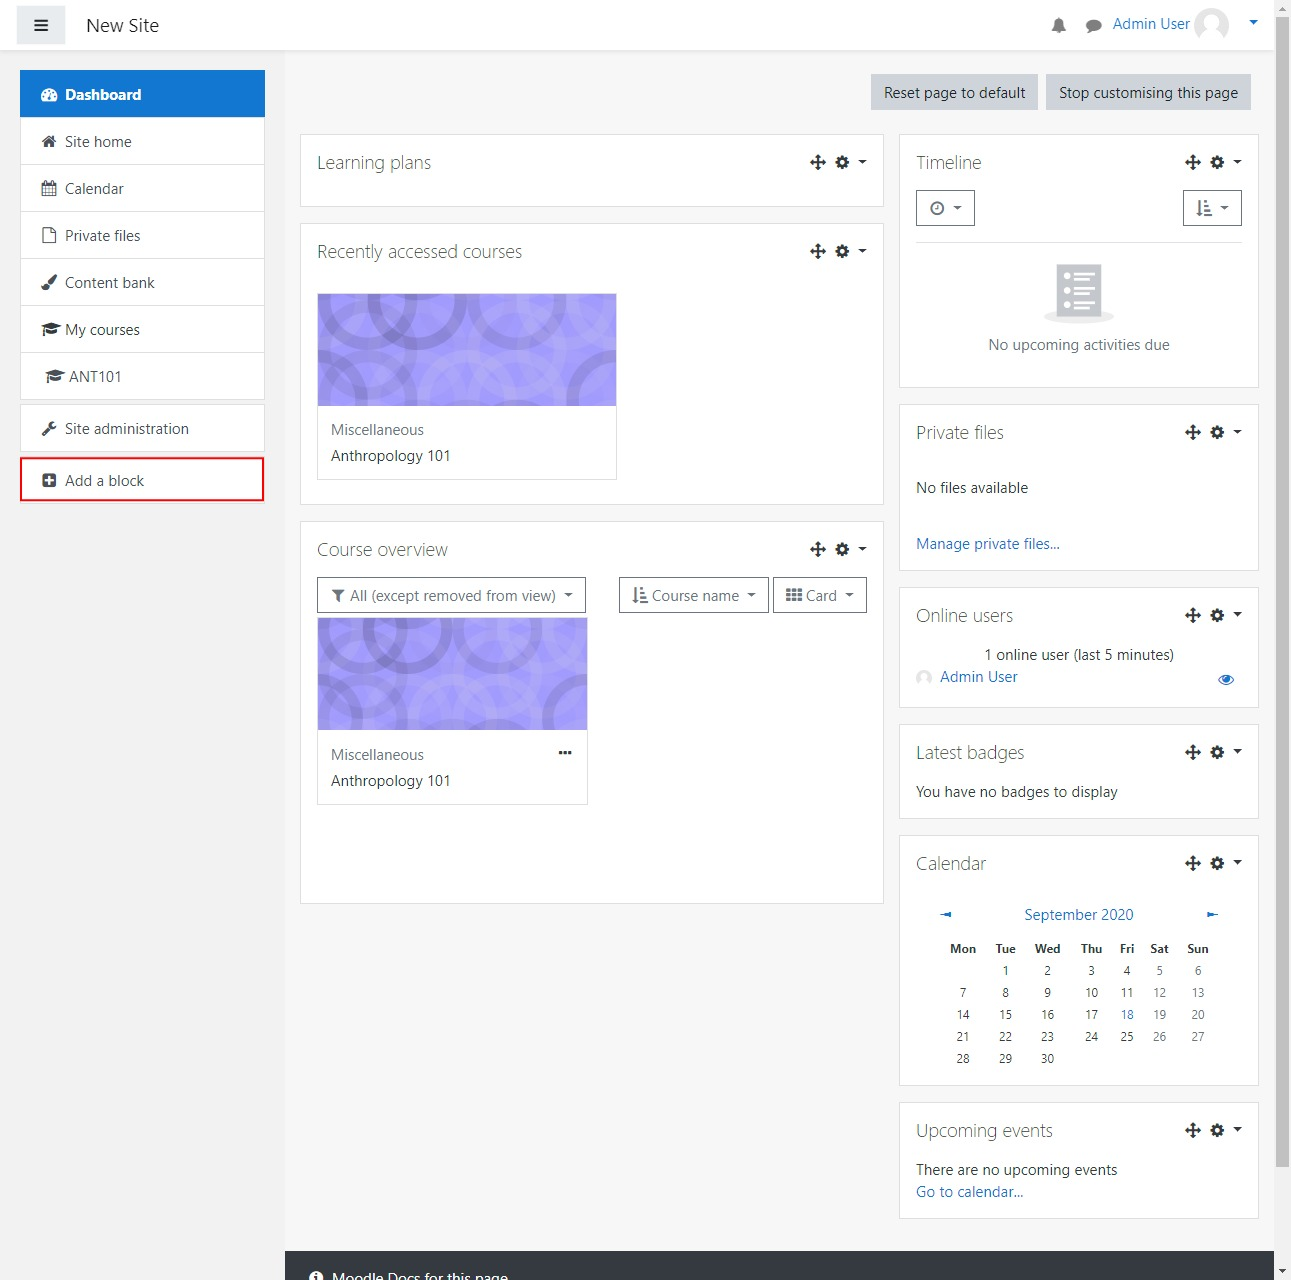
Canvas Integration (LTI 1.3) - Getting Started
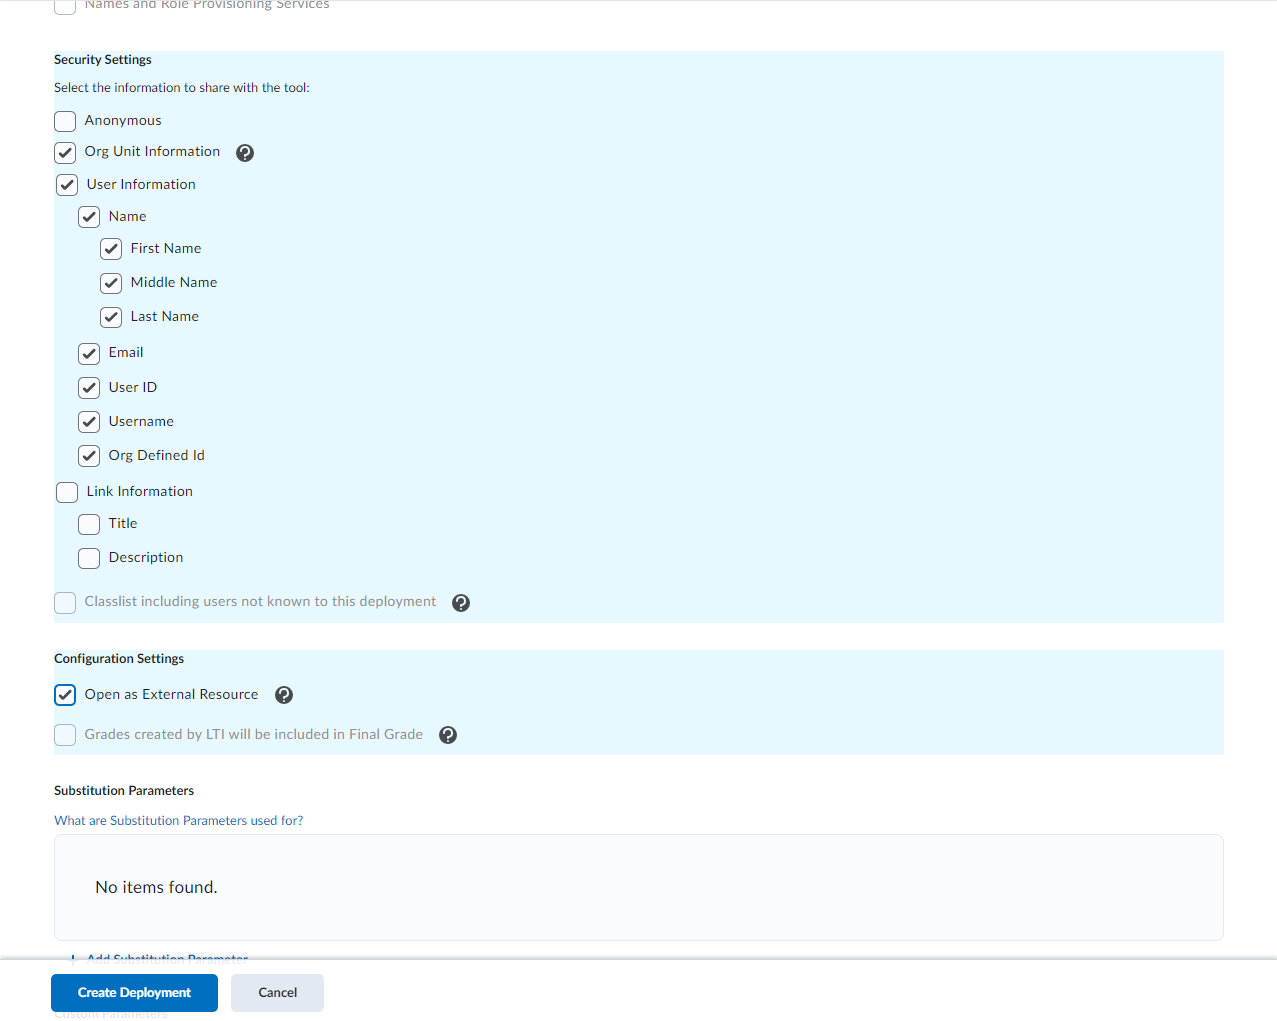
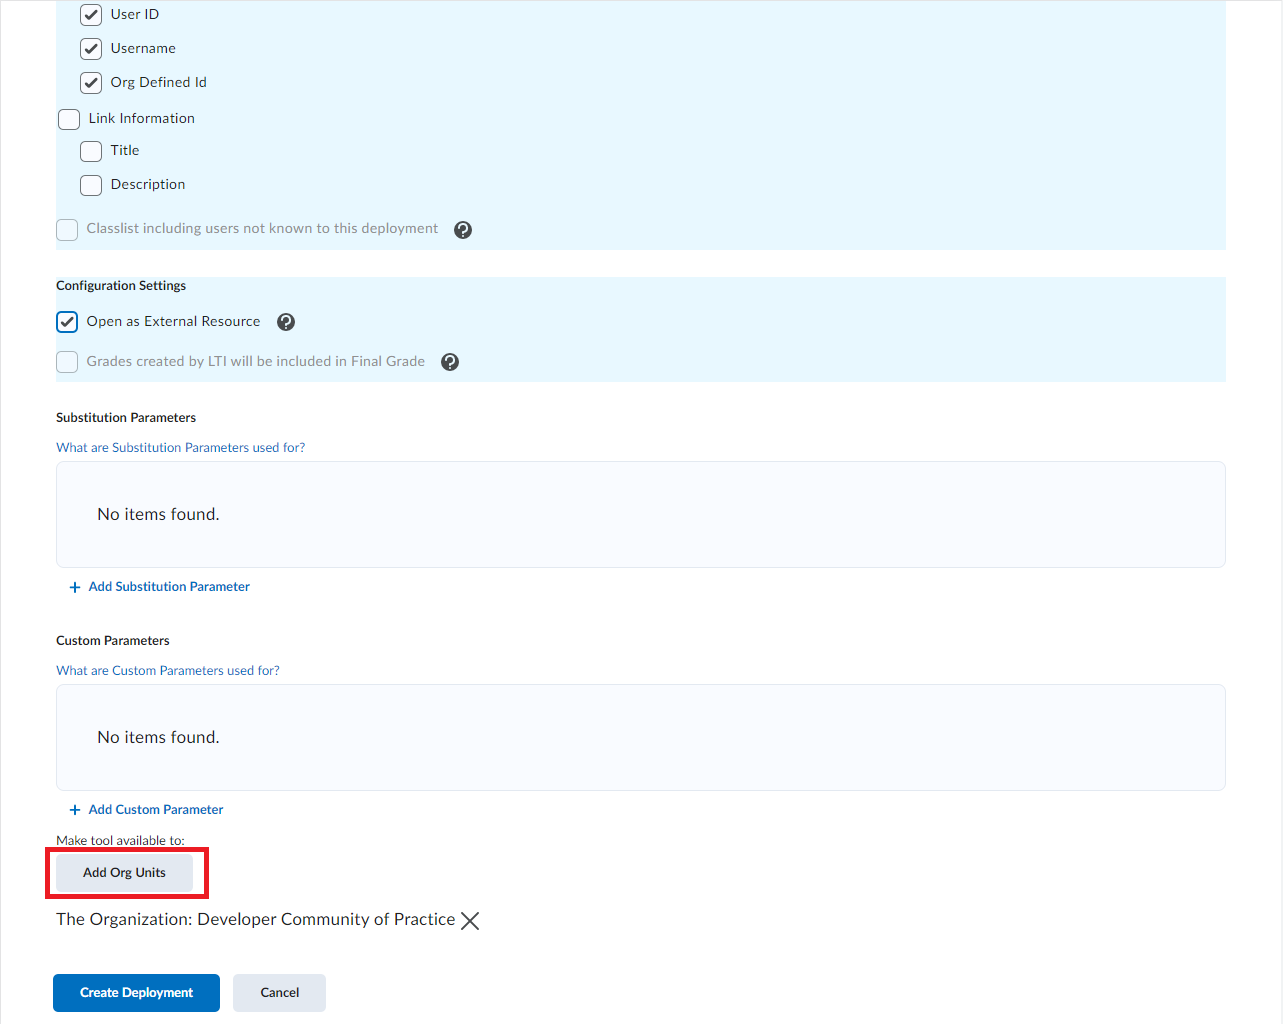
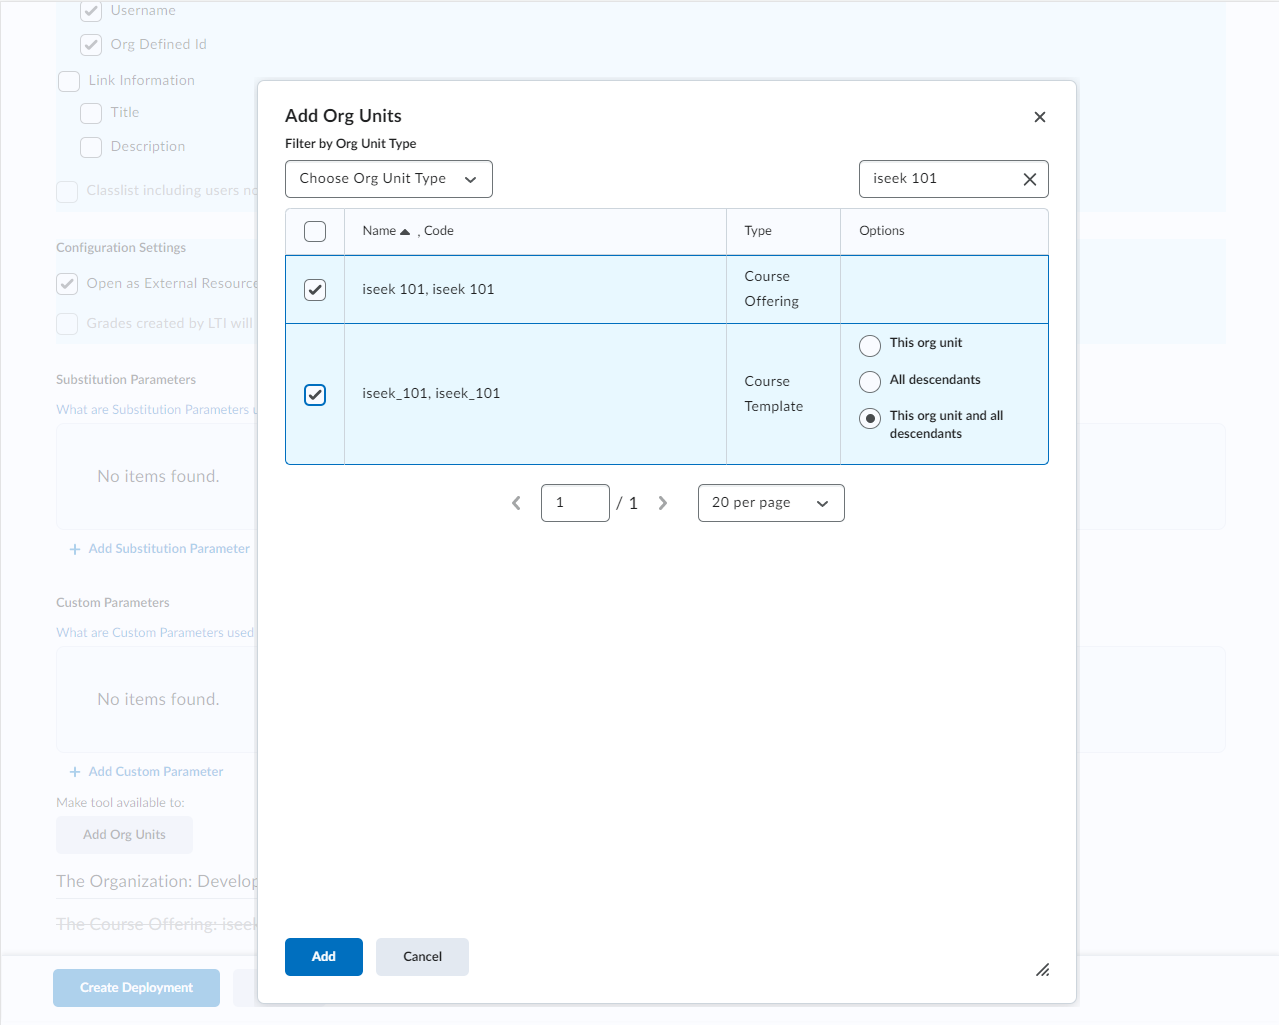
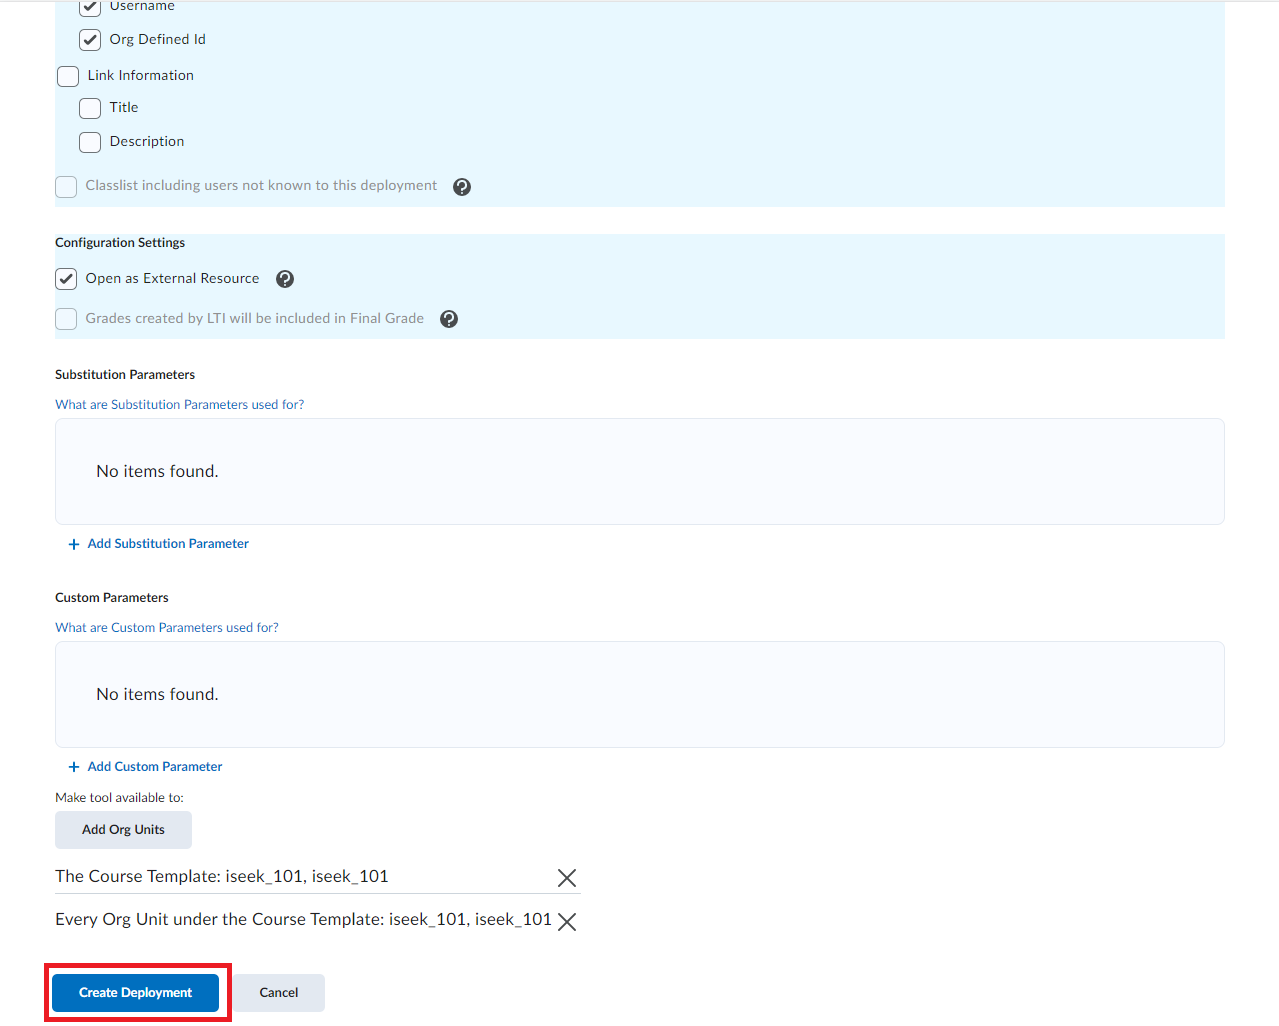
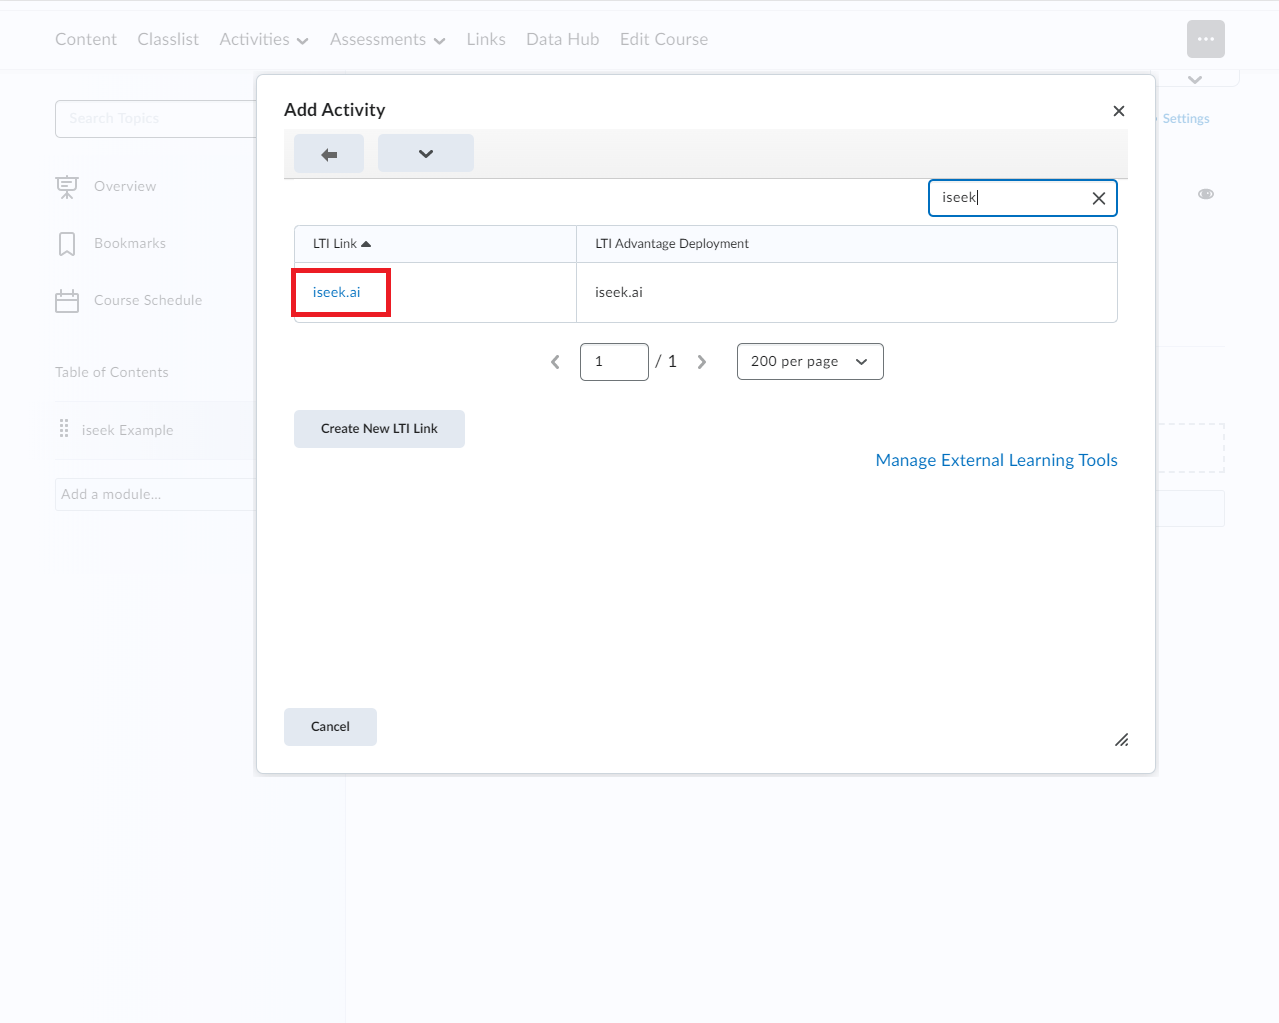
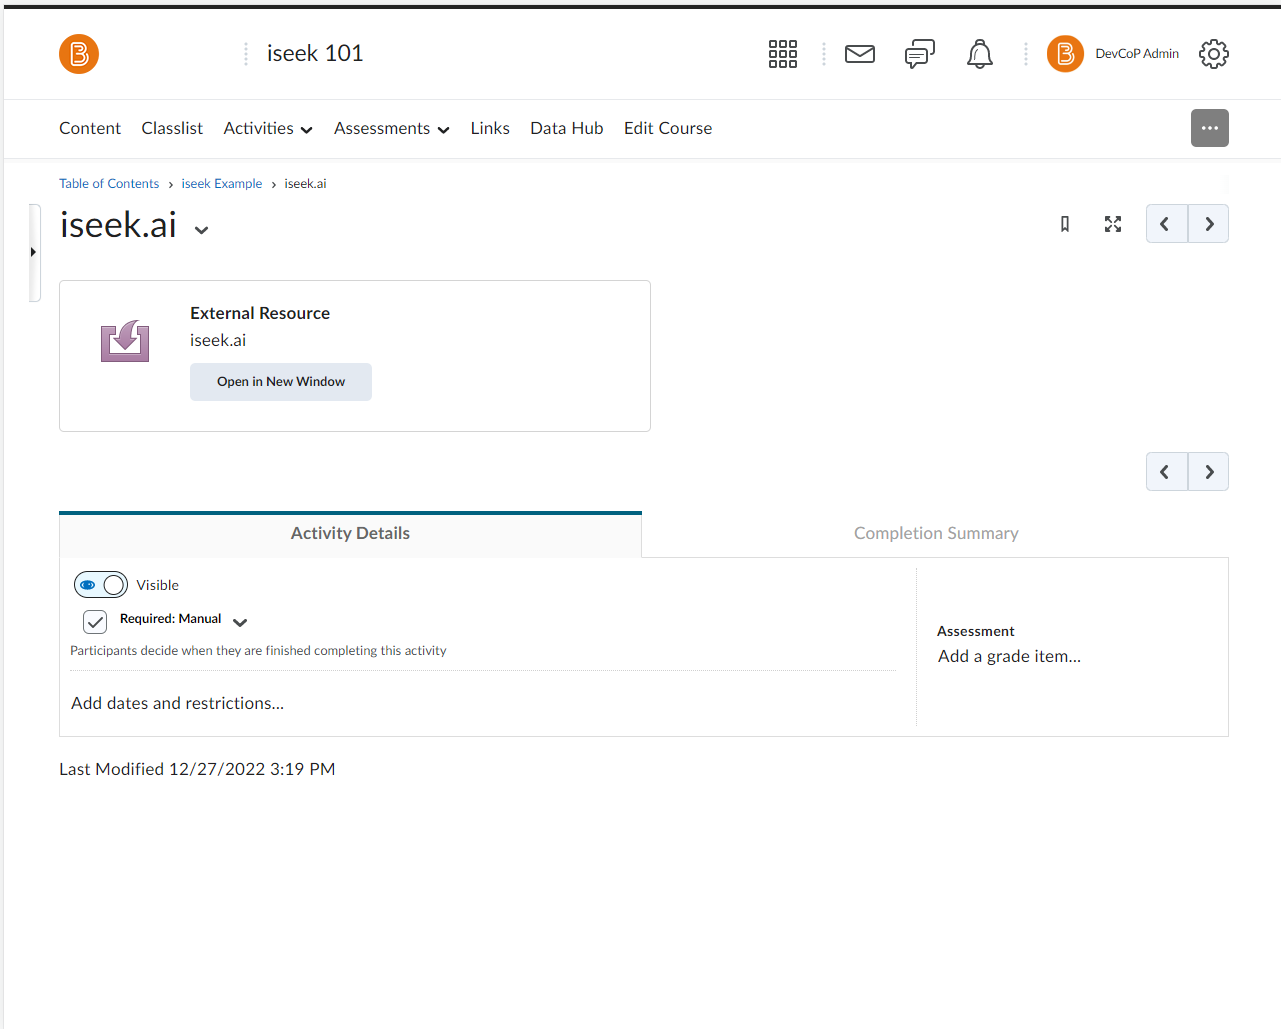
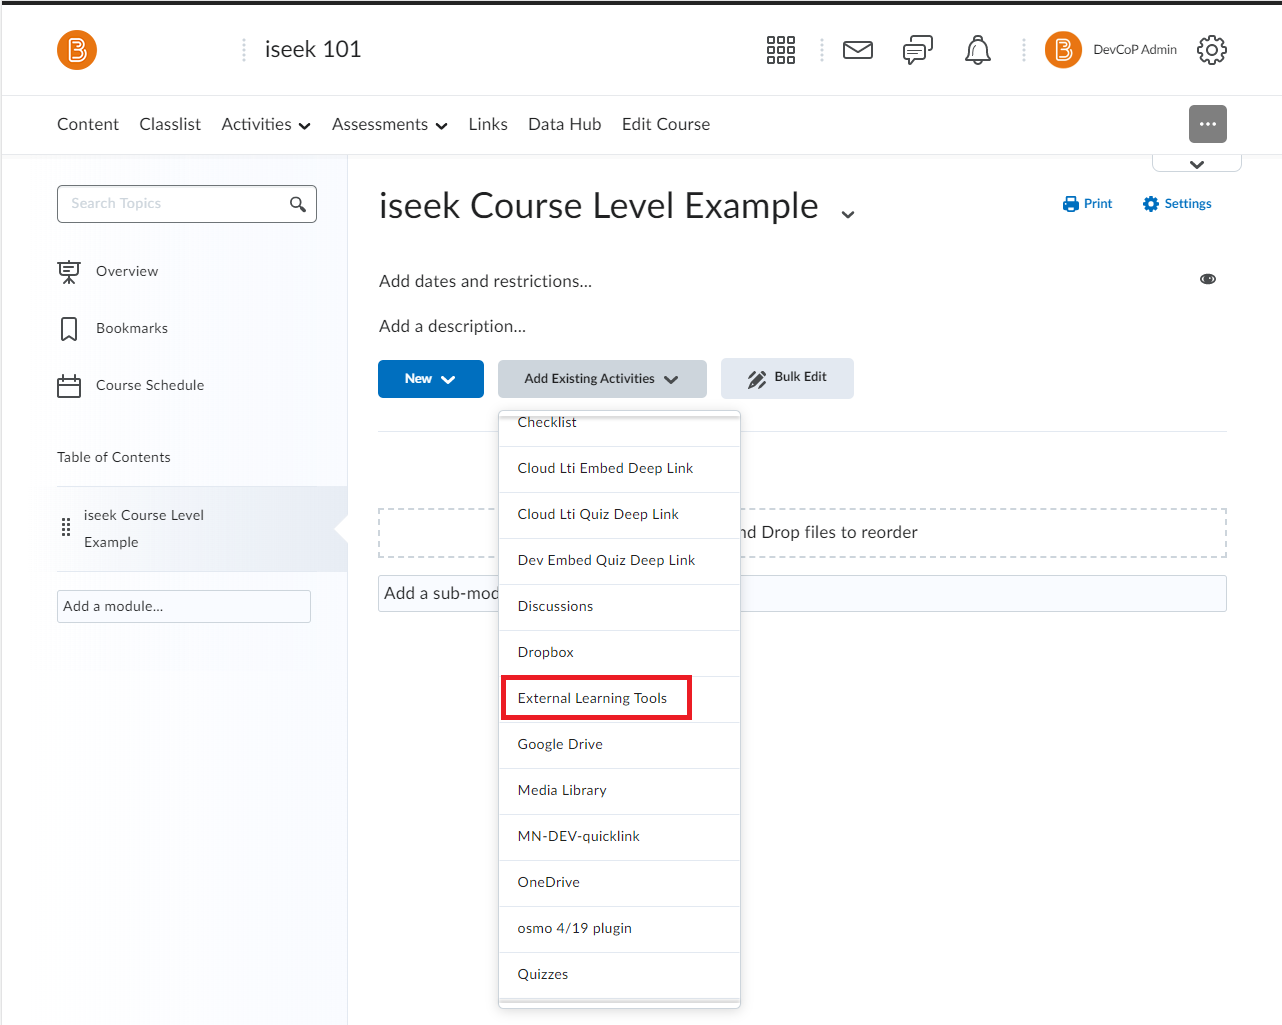
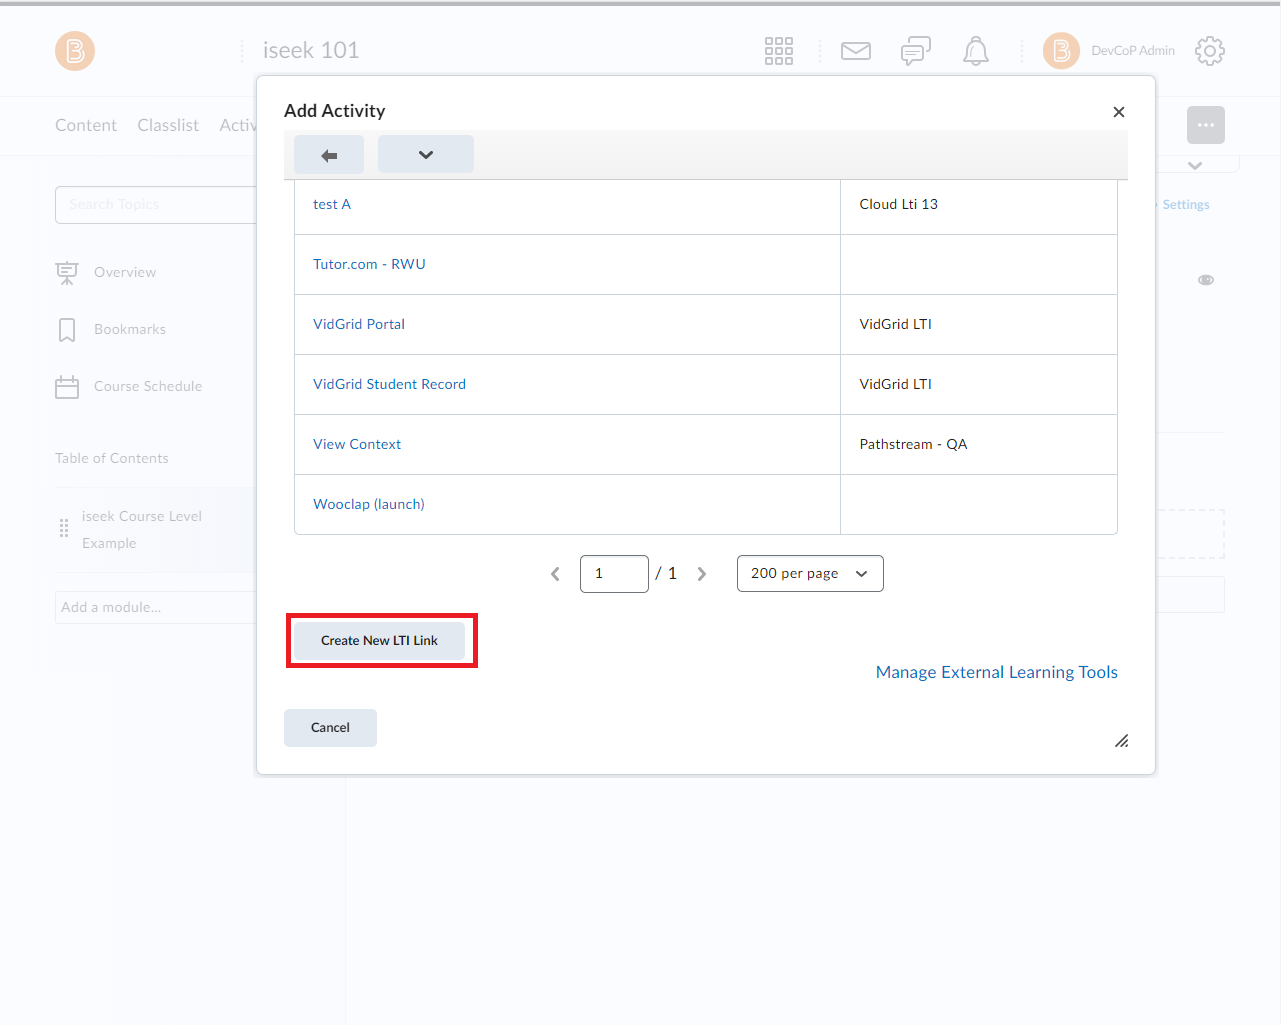
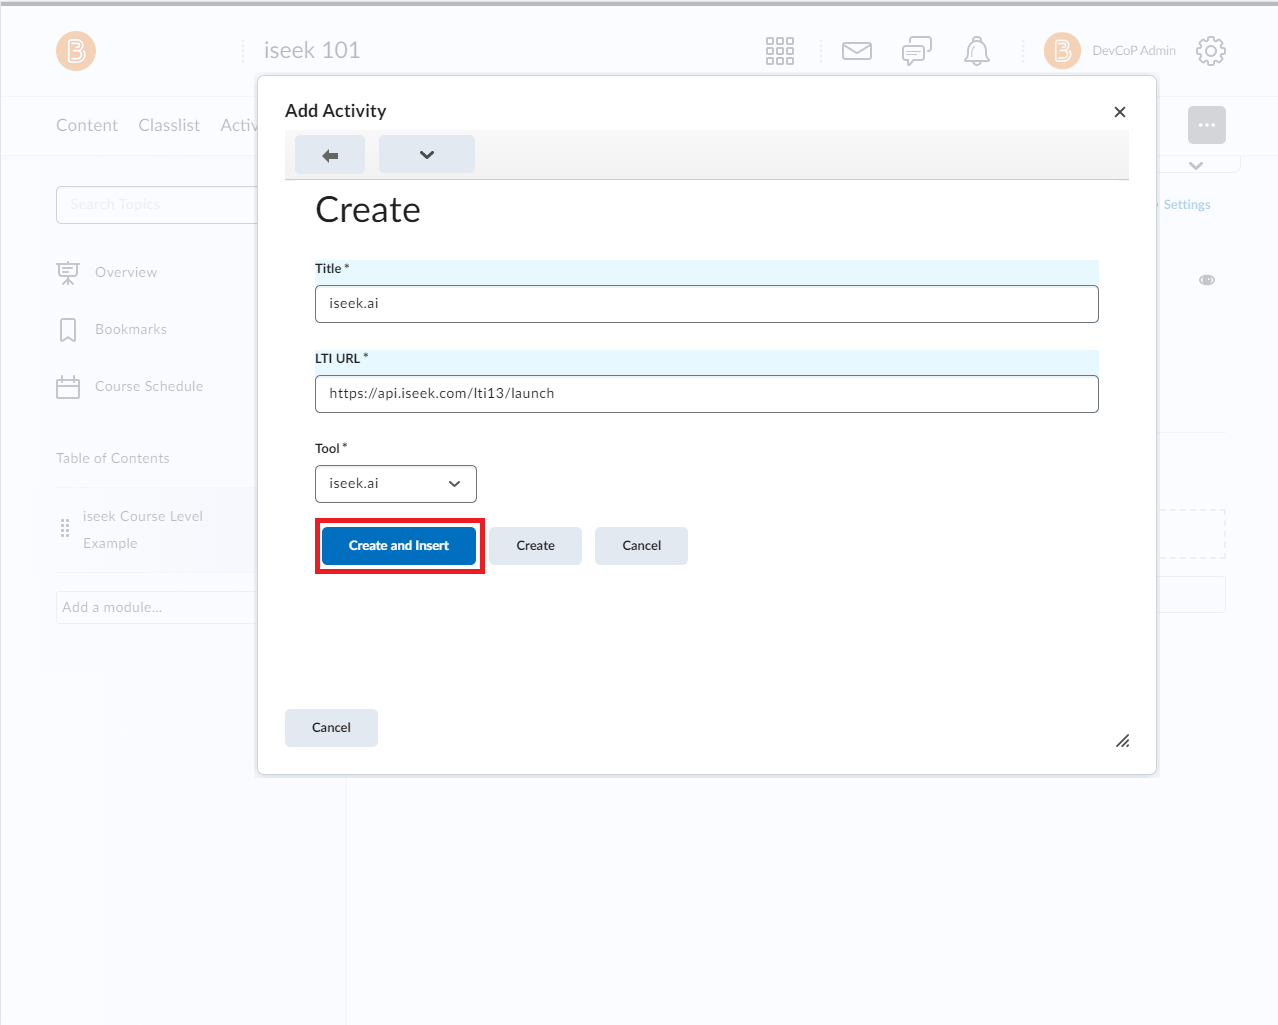
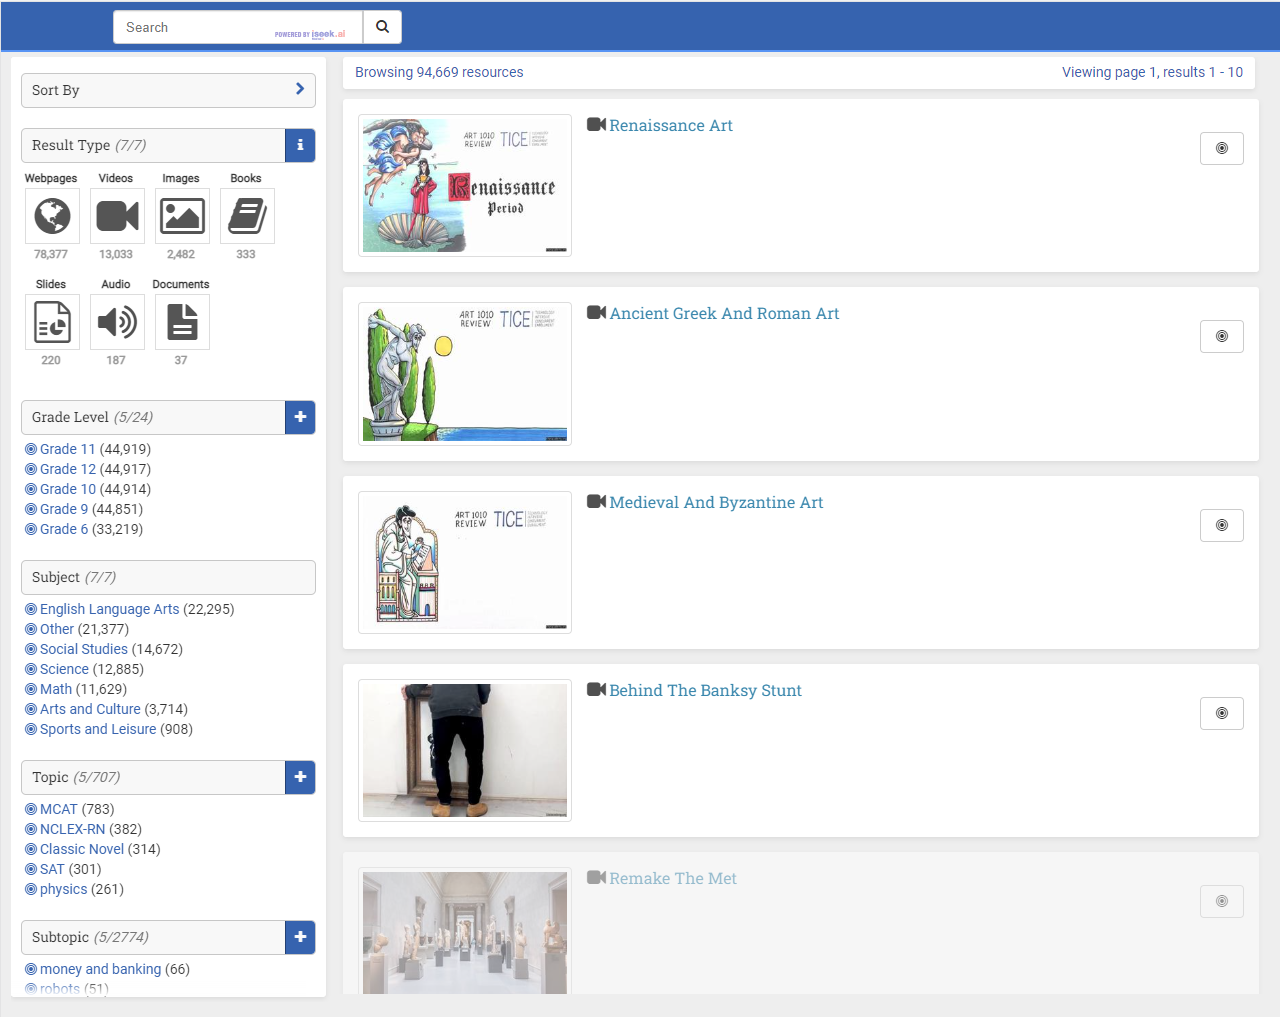
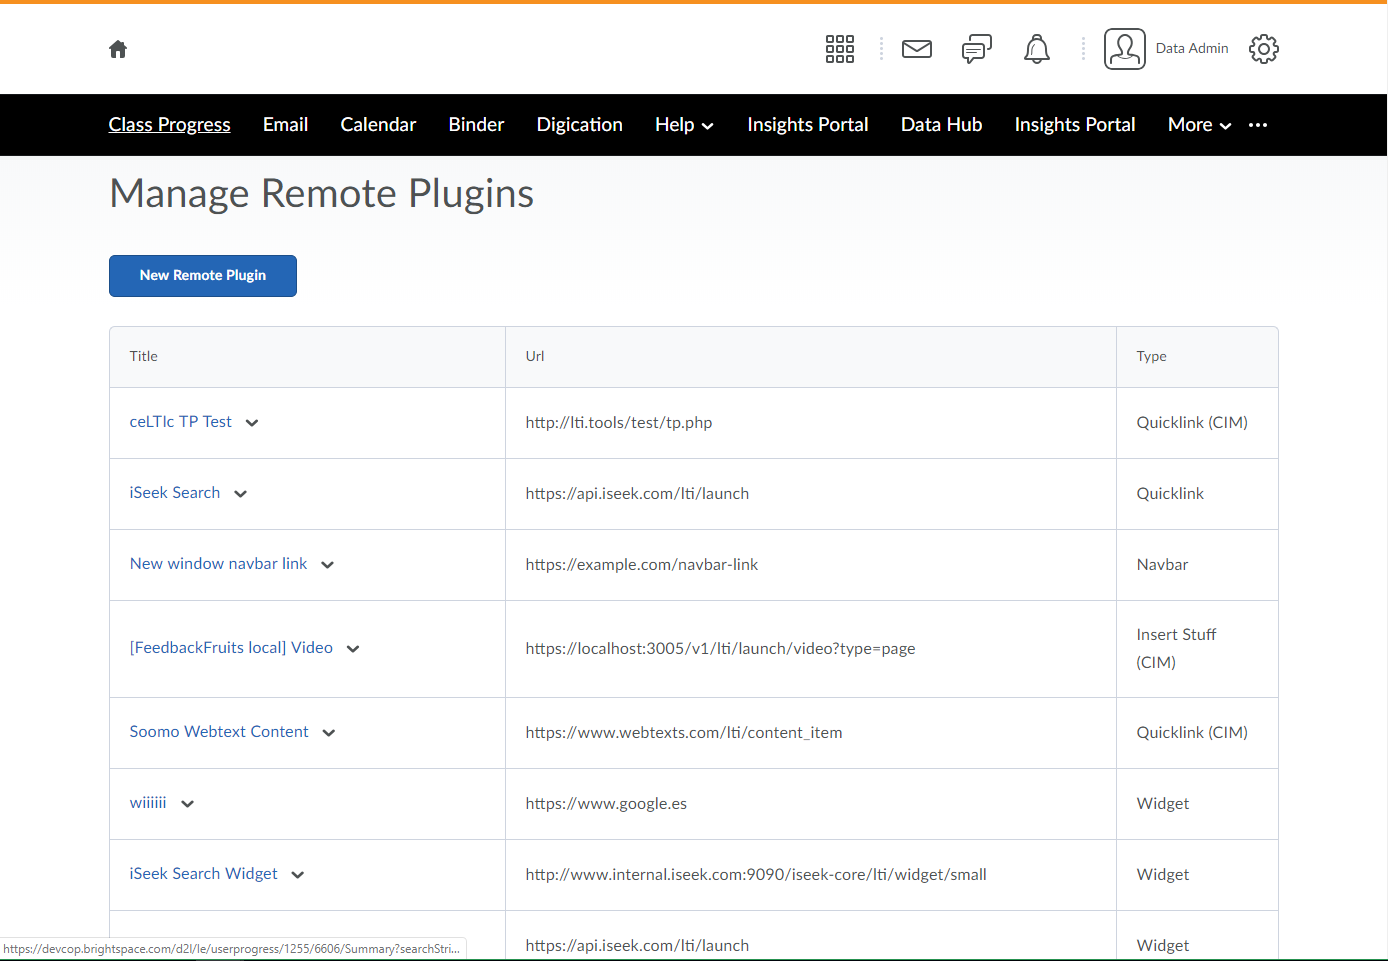
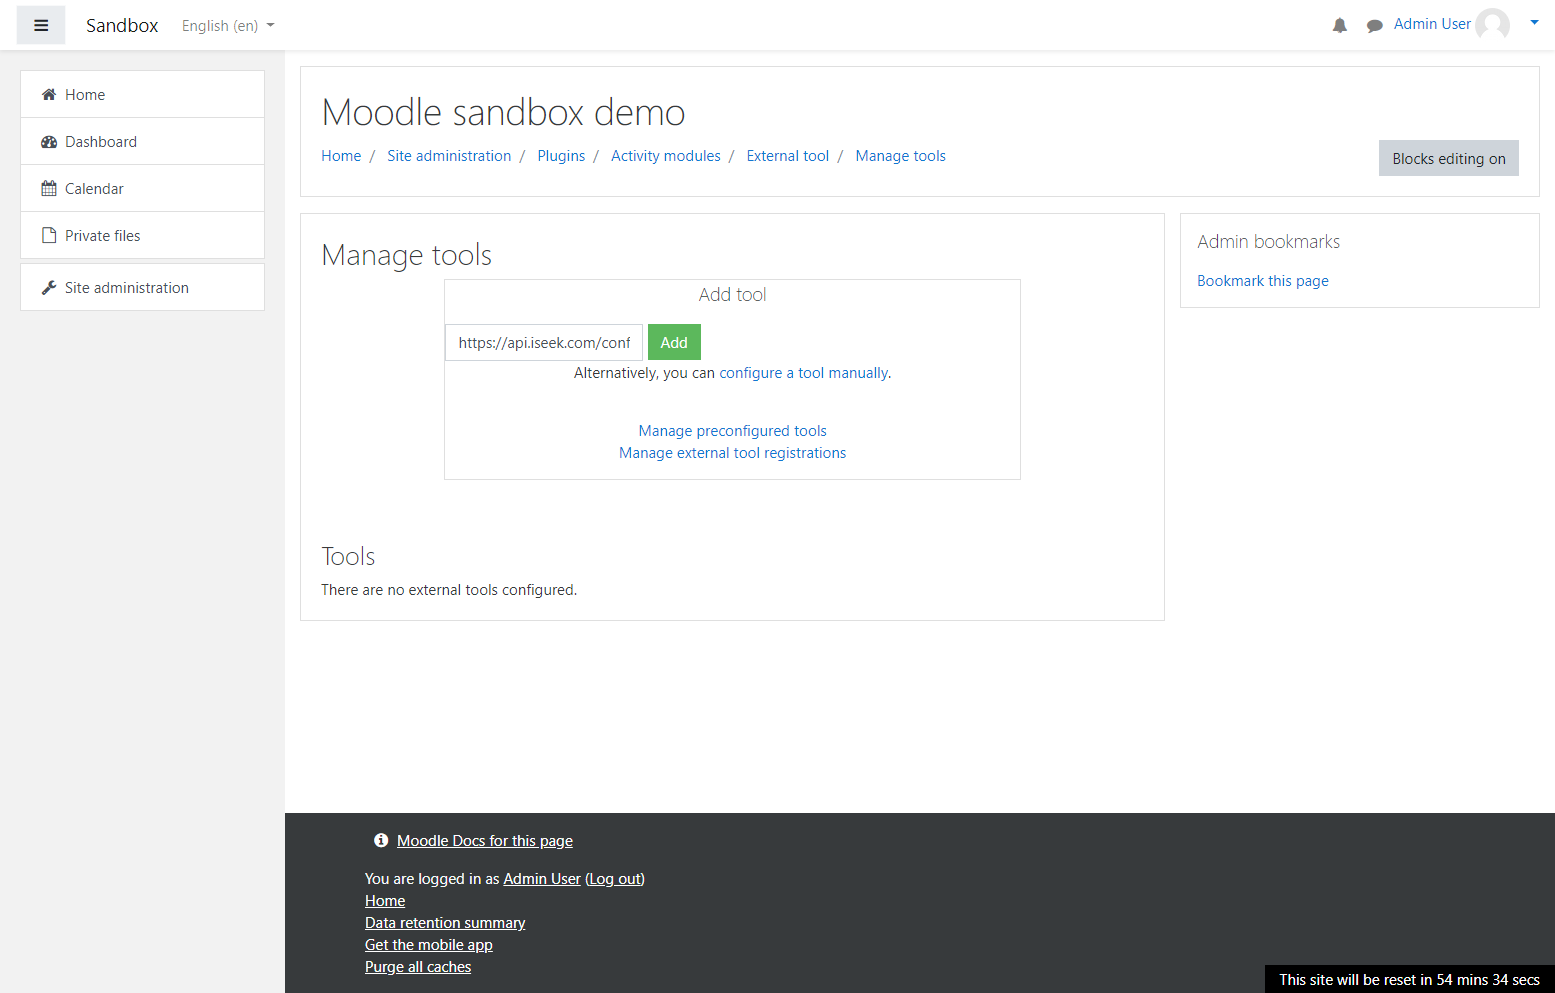
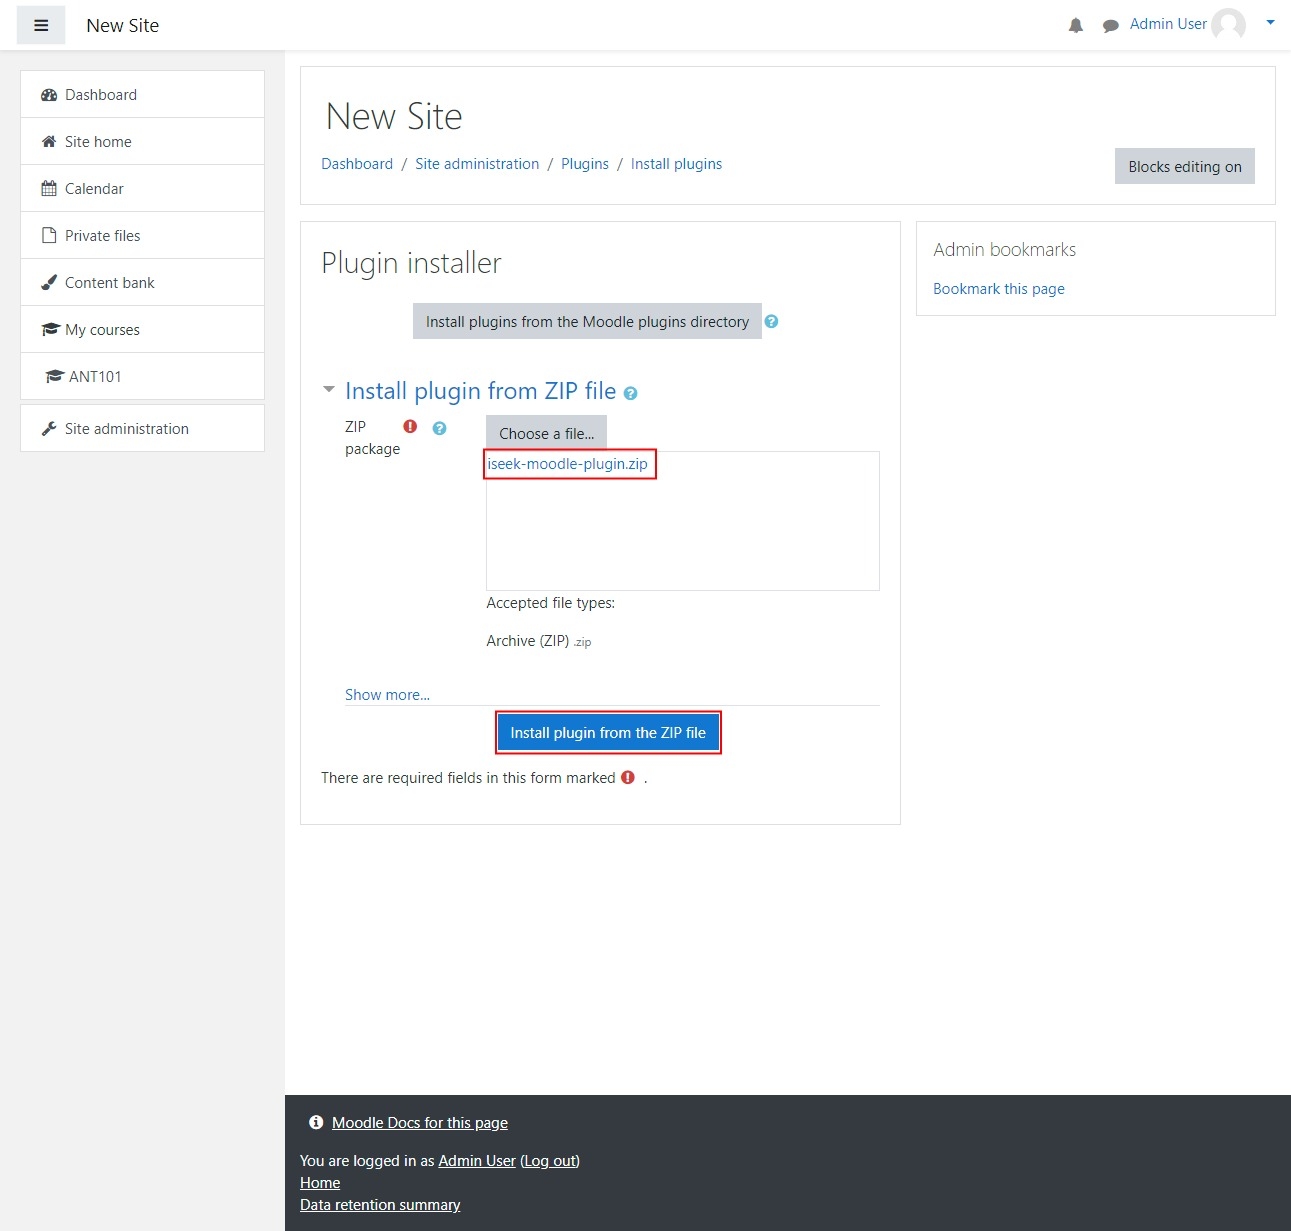
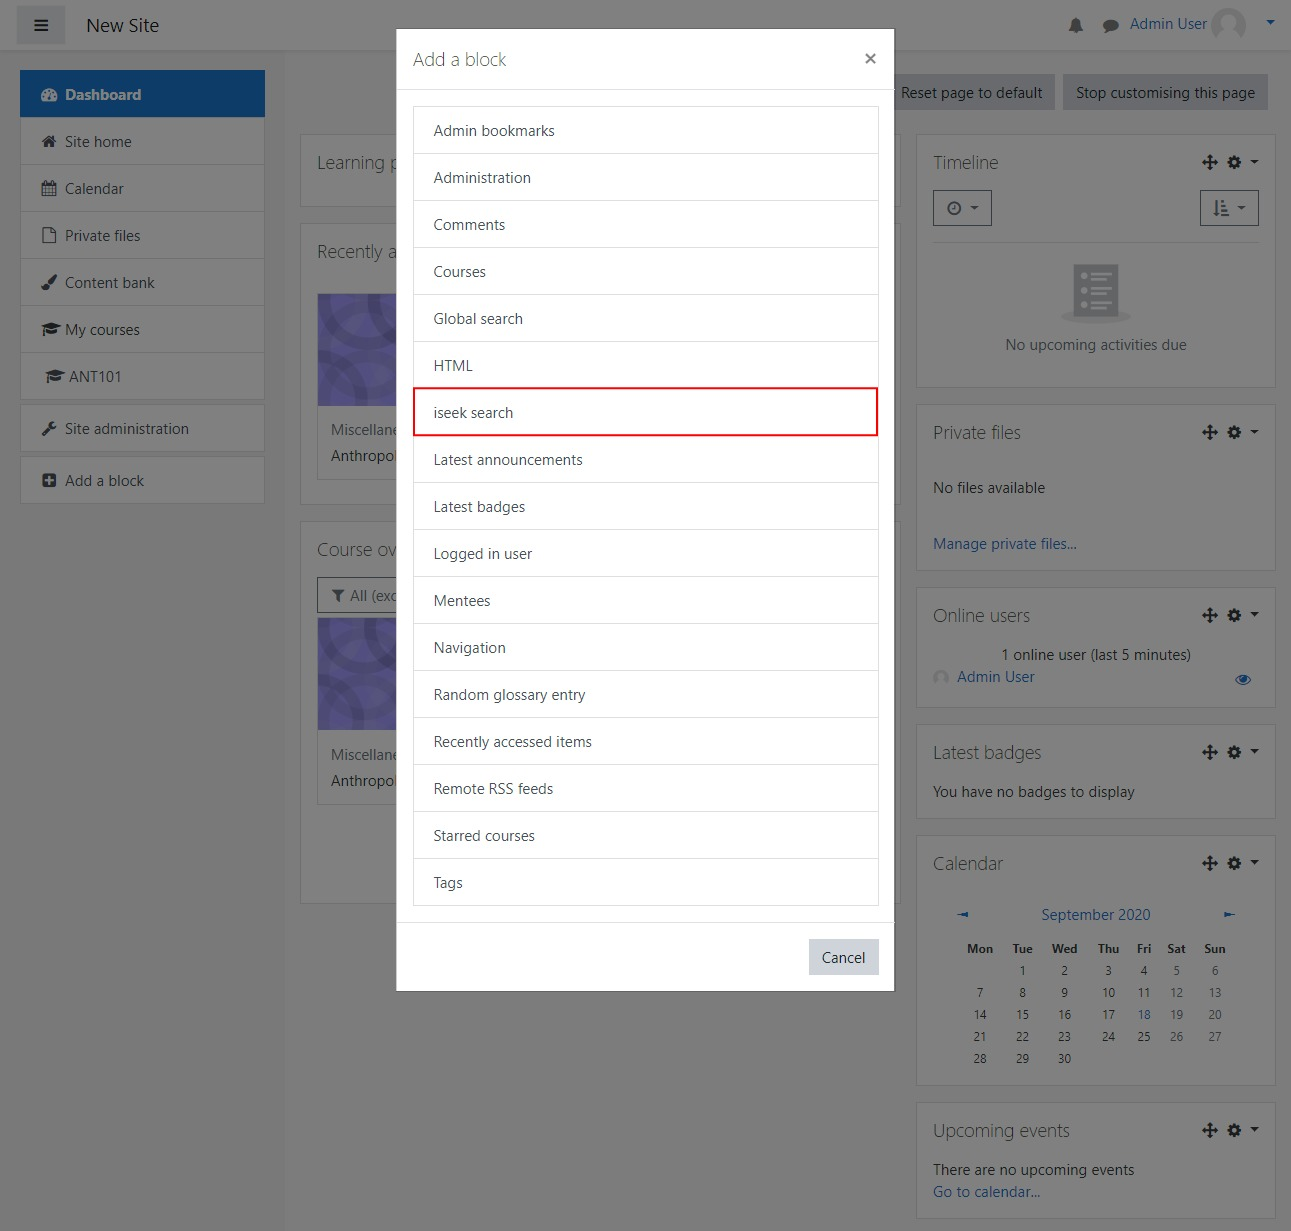
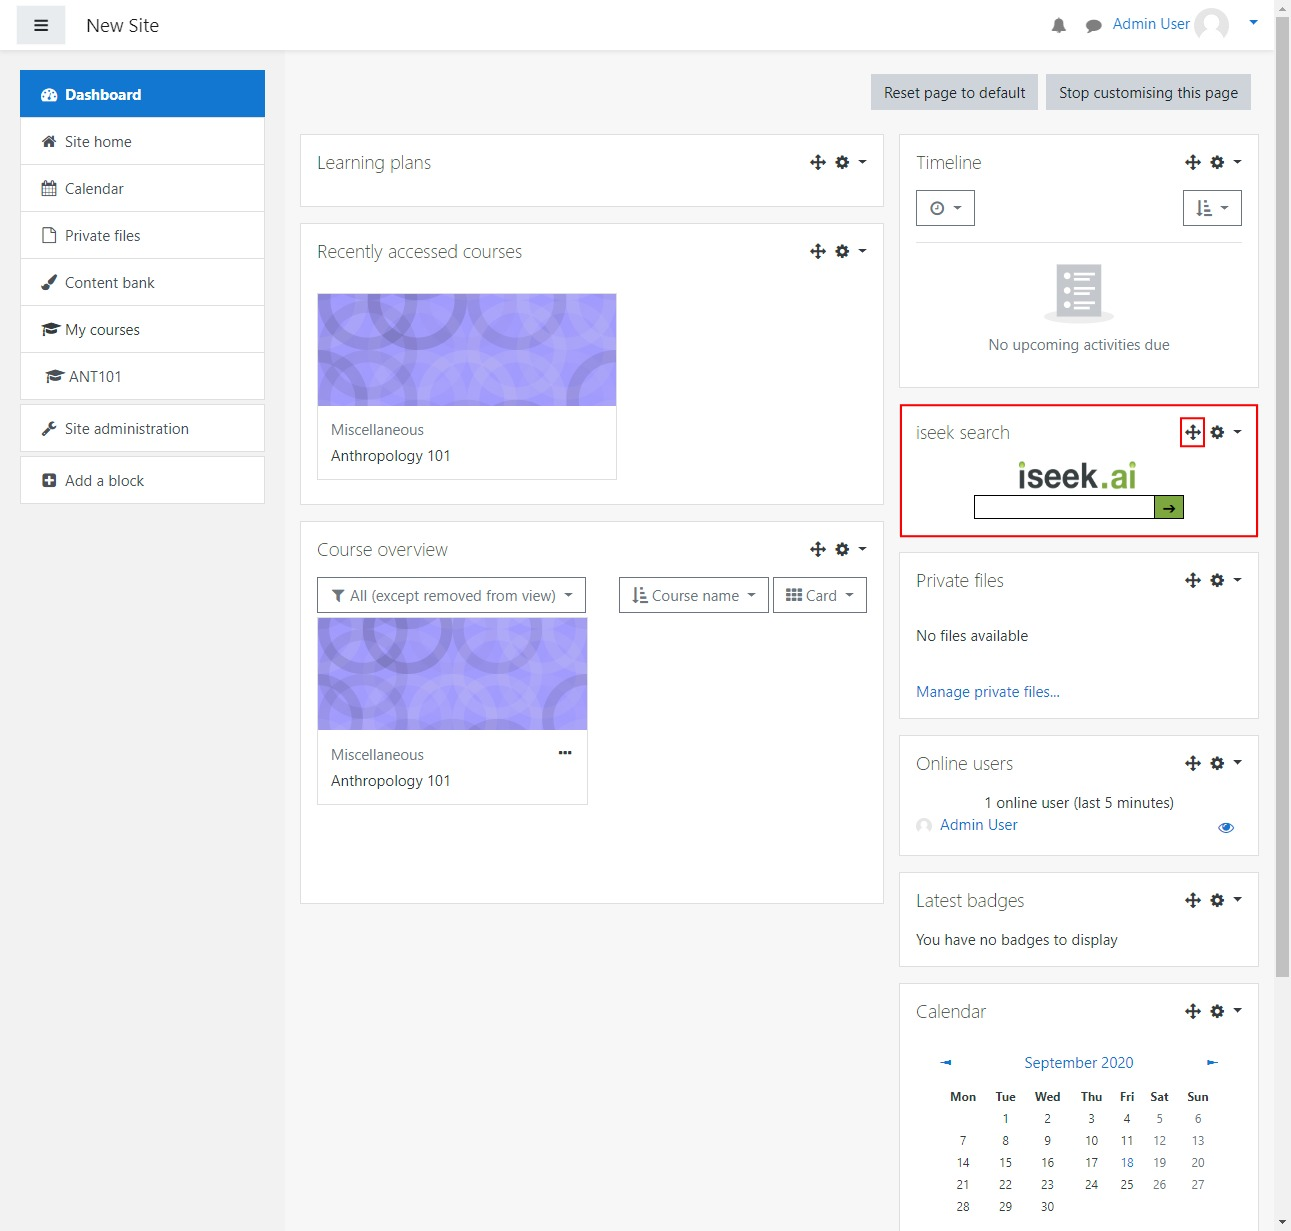
iseek search is added as an External App to your Canvas Account, Sub-Account, or Course:
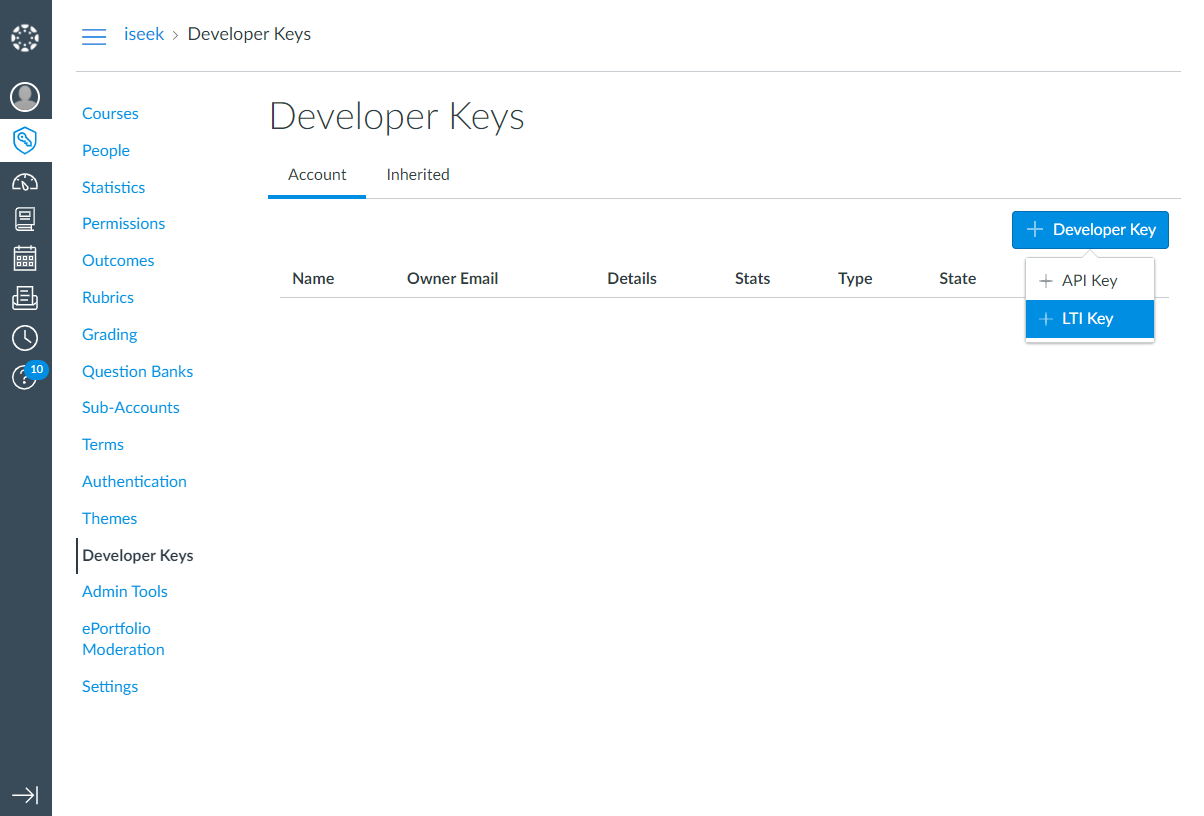
- Signed in as a Canvas Account Administrator, in the root Account click Developer Keys in the Account Menu and then click + Developer Key. Select the LTI Key option.
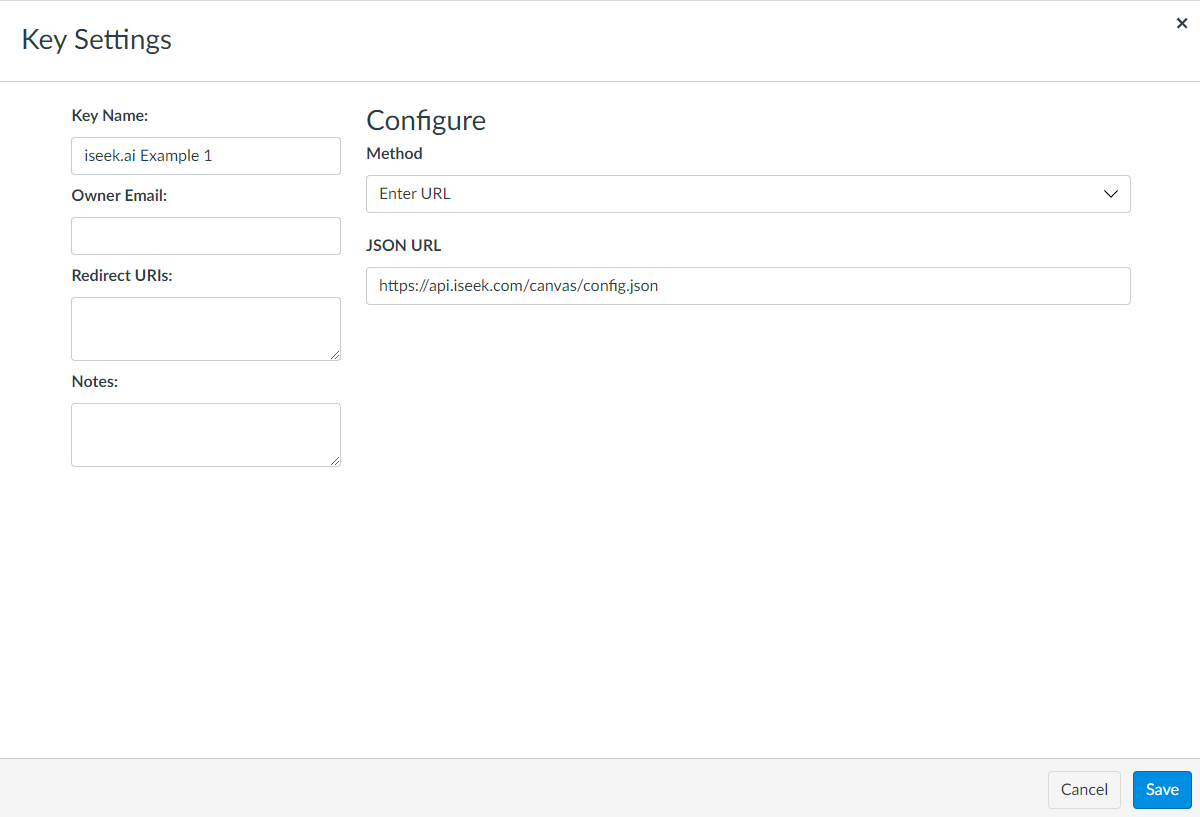
- Select Method: Enter URL
- Enter the following in the JSON URL field: //api.iseek.com/canvas/config.json
- Optional Settings: //api.iseek.com/canvas/config.json?launchInNewWindow=true&includePlacements=course,account
- launchInNewWindow - If you would like the search to open in a new window (rather than within Canvas), add "launchInNewWindow=true"
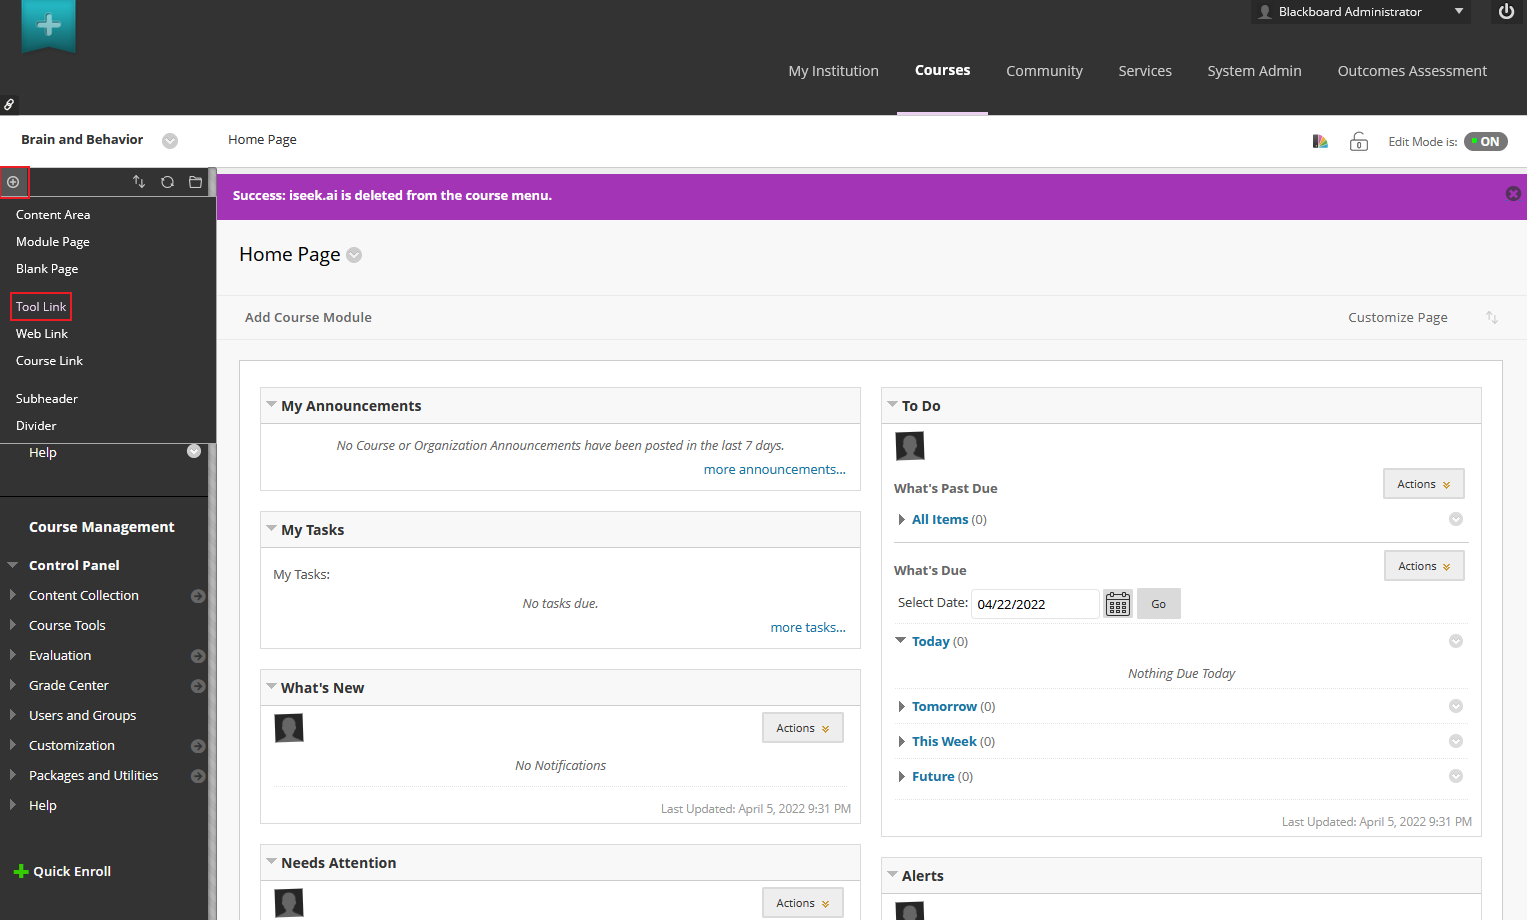
- includePlacements - This setting allows control over which area of Canvas displays the search. Include in the list, only those areas where you would like iseek to display to users (accounts and courses are enabled by default).
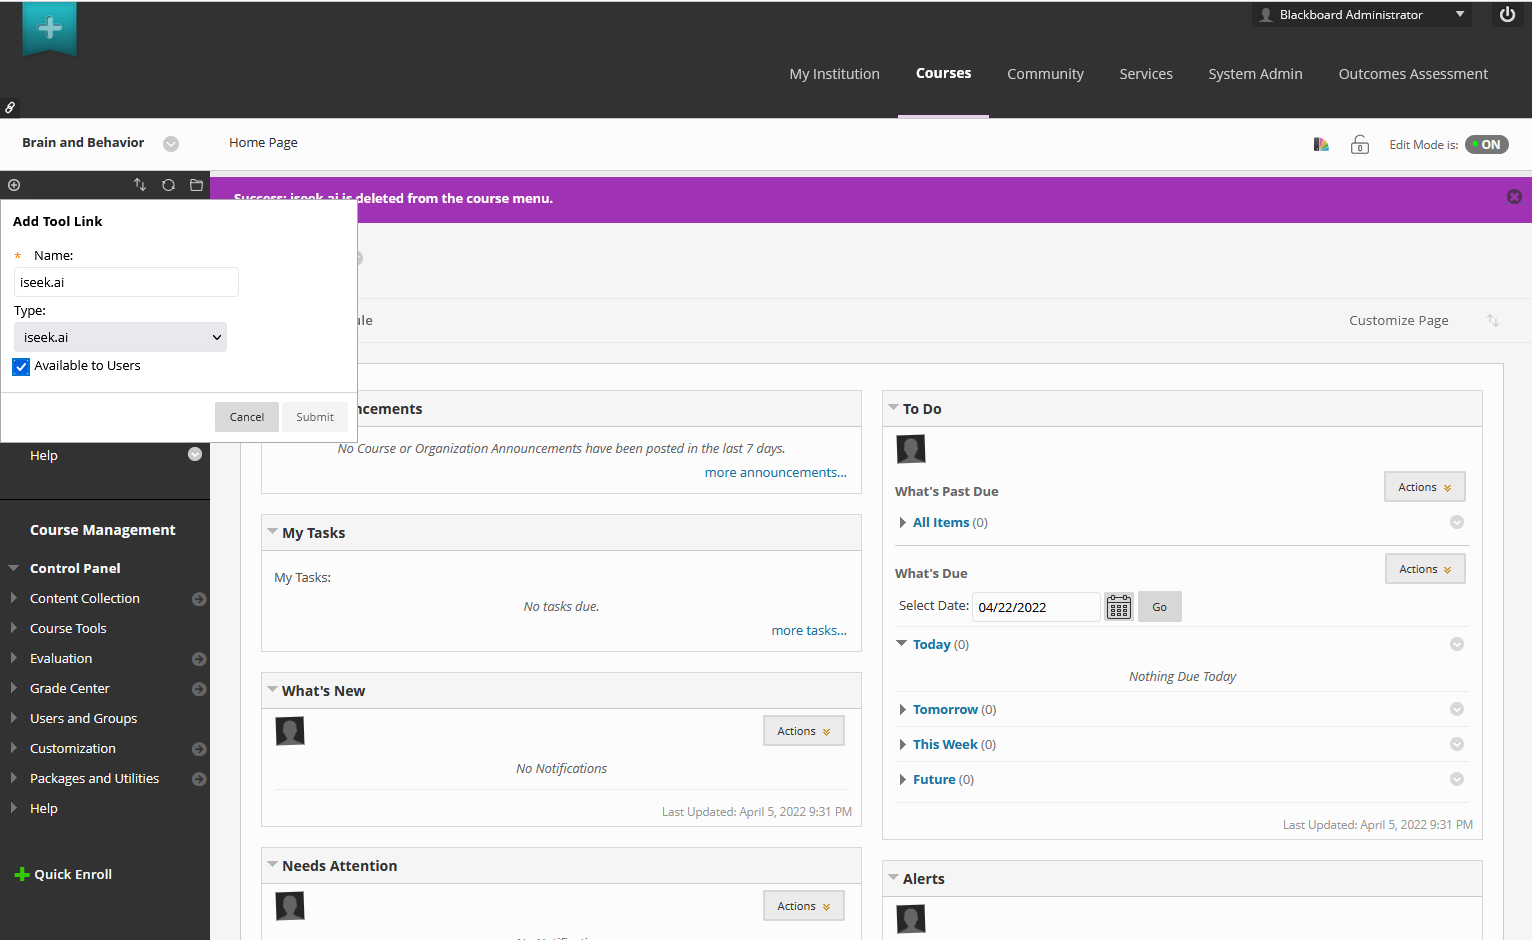
- Enter a Key Name that provides context for administrators: iseek.ai Search
- Click Save
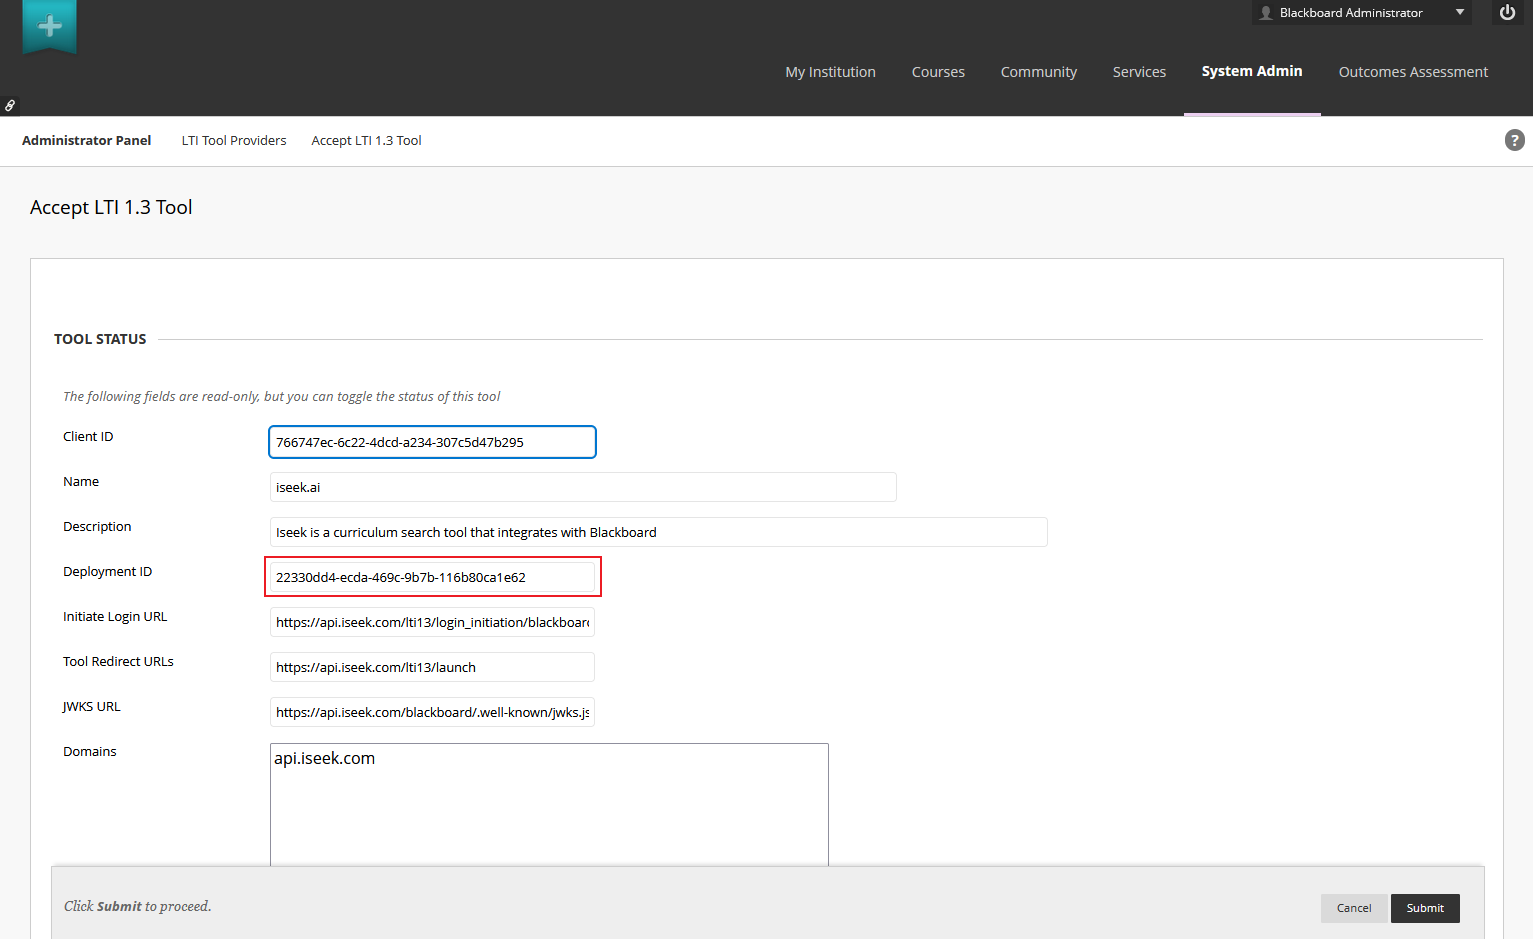
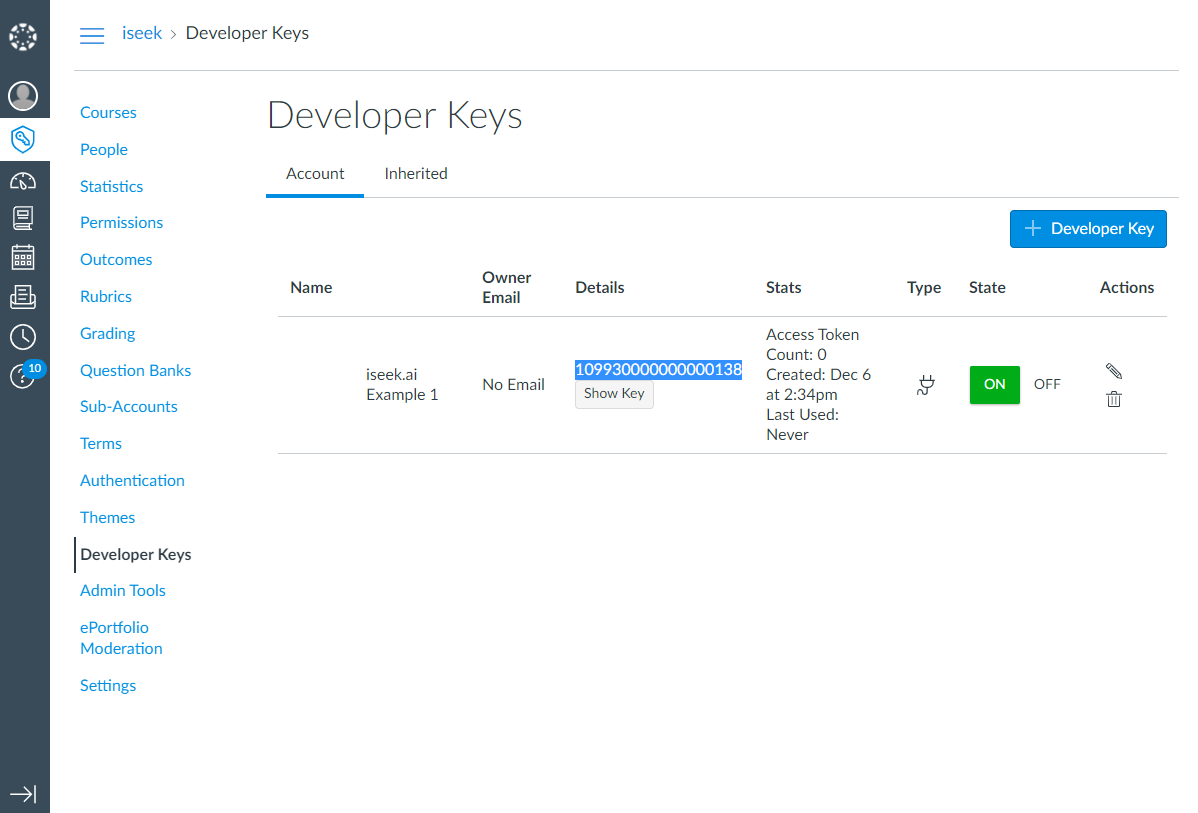
- Record the number (Client ID) seen in the Details column of your new Developer Key entry.
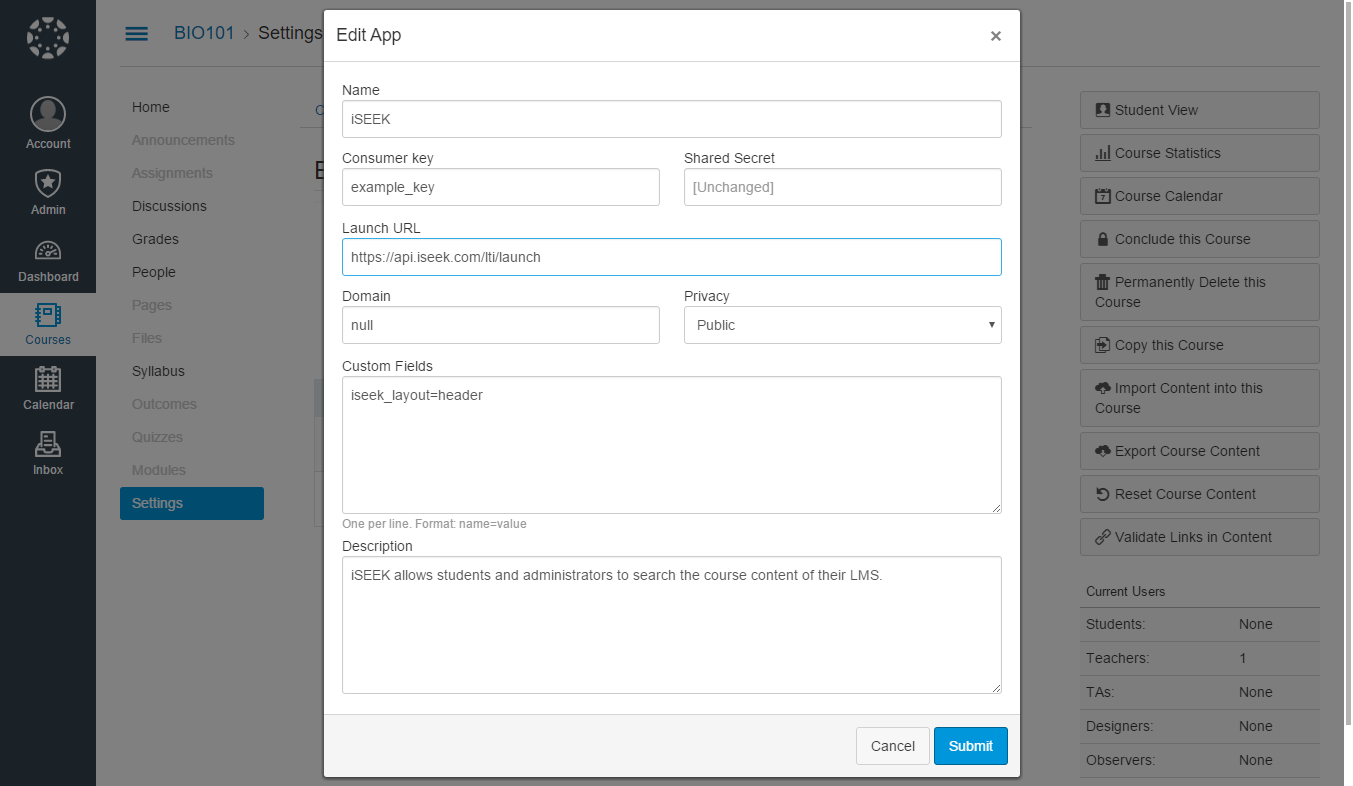
- Navigate to the Account, Sub-Account, or individual Course in which you would like to add iseek search as a tool. Click the Settings link in the navigation menu.
- Click the Apps tab.
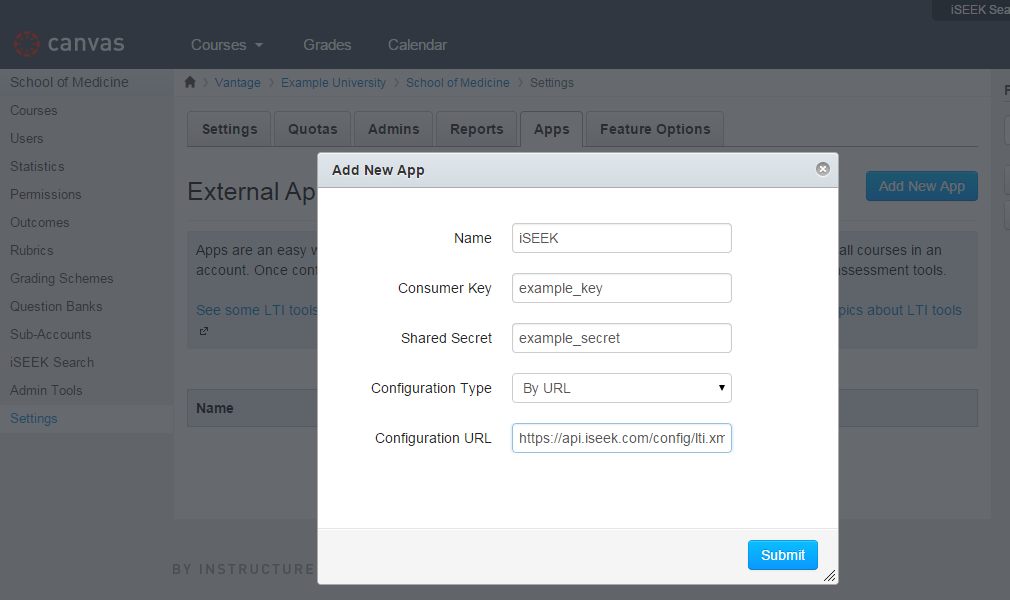
- Click the View App Configurations button.
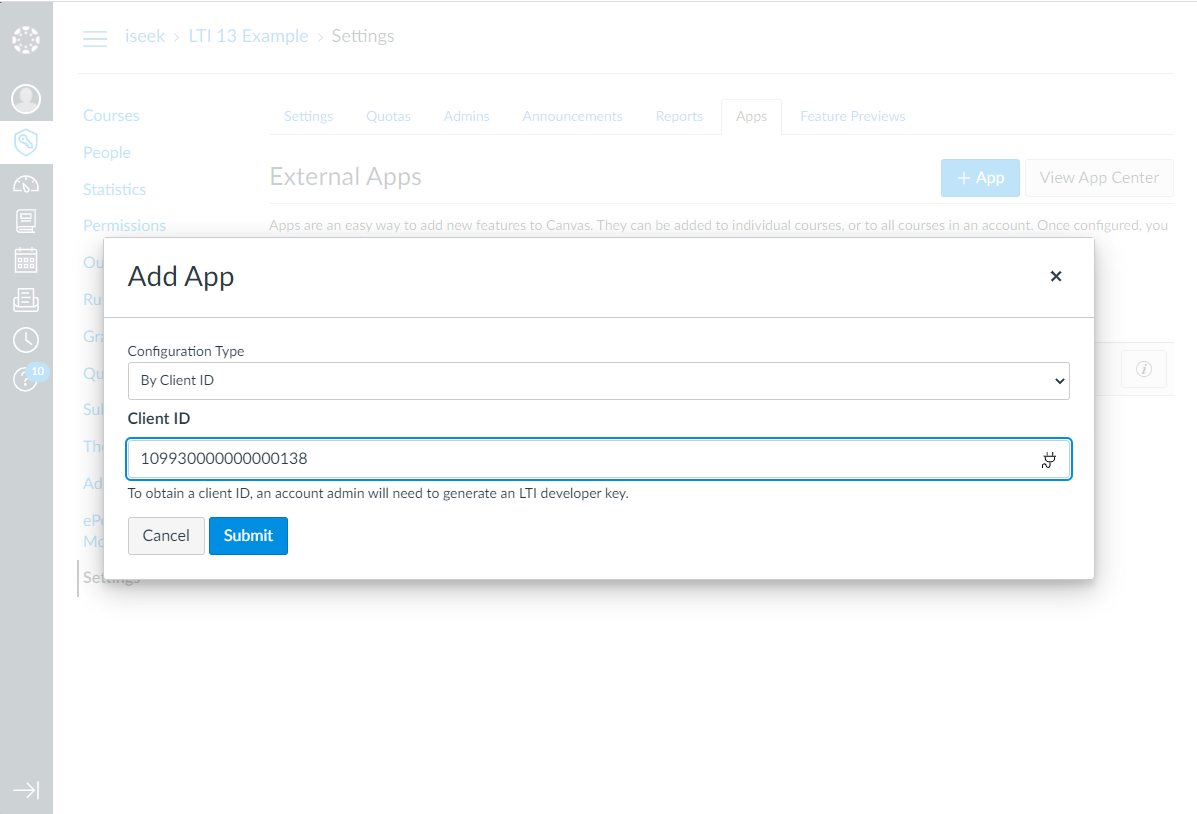
- In the dialog, select Configuration Type: By Client ID
- Click Submit
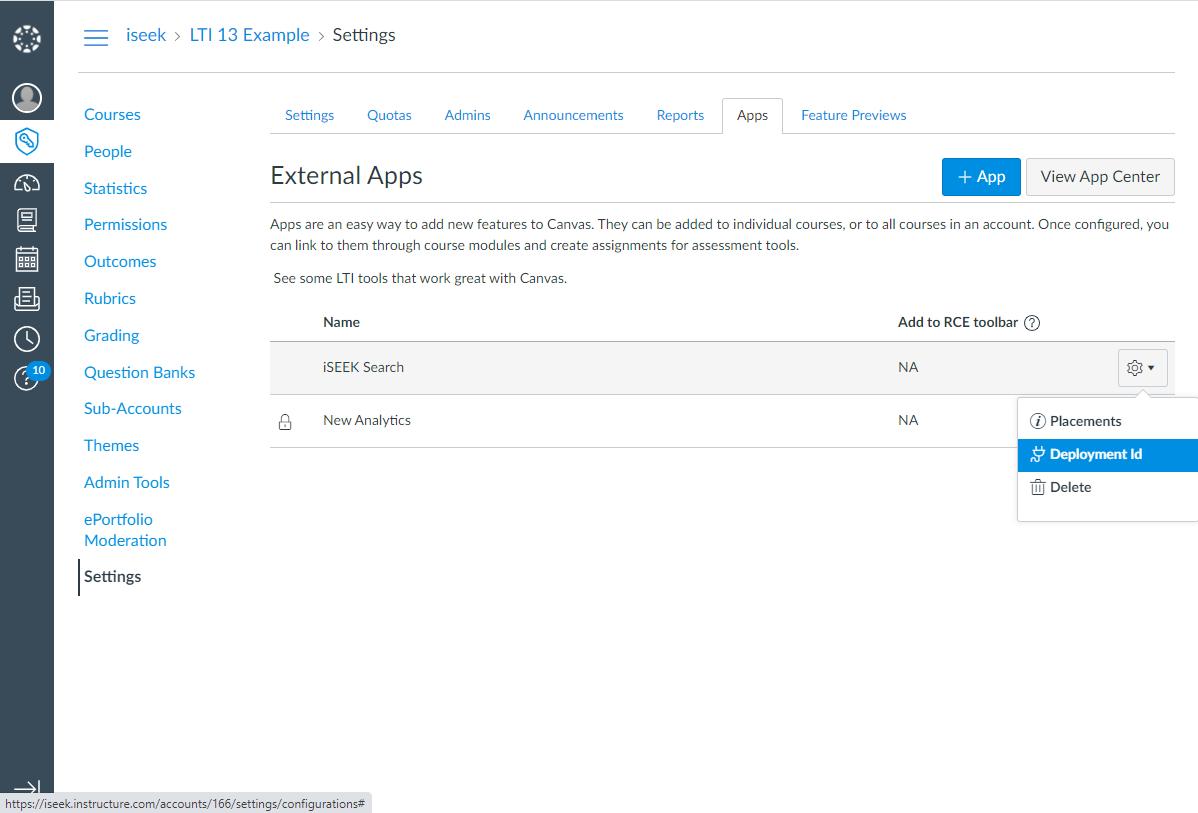
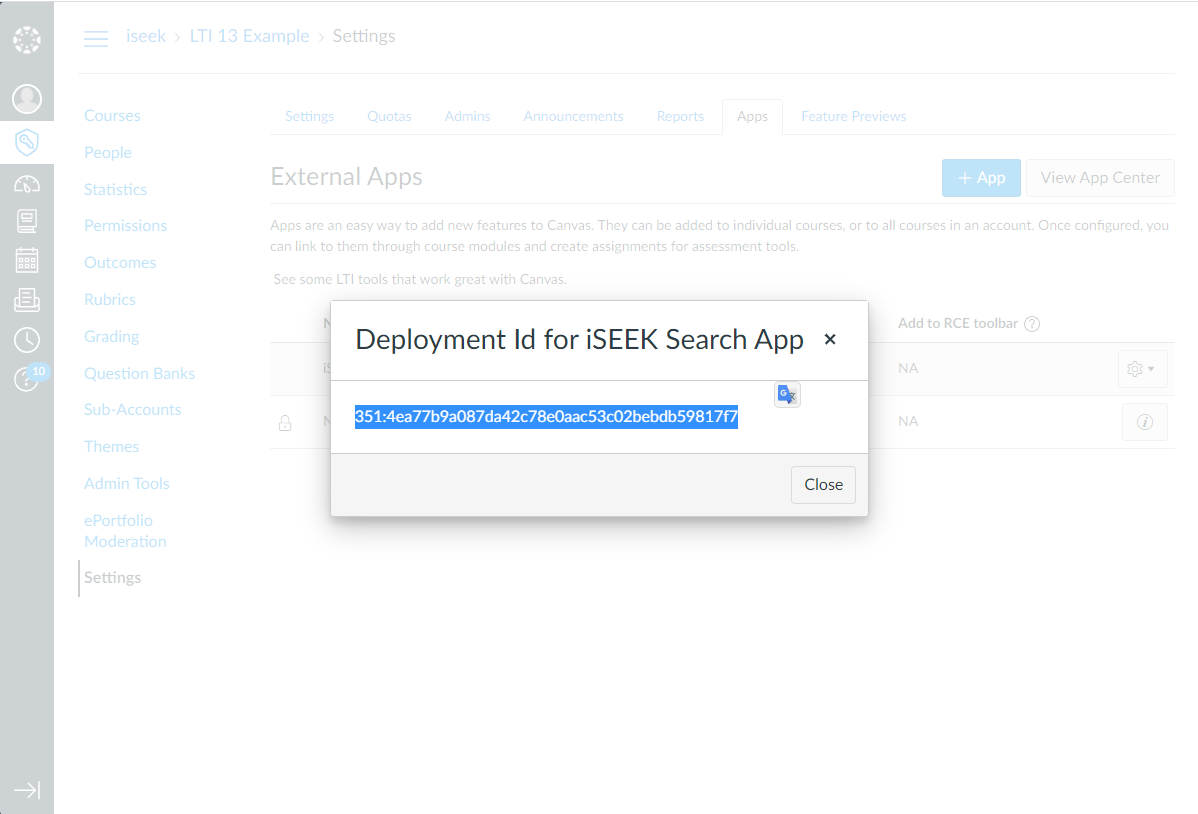
- In the list of Apps, click the cog menu at the right of the row and select Deployment ID. Copy this value.
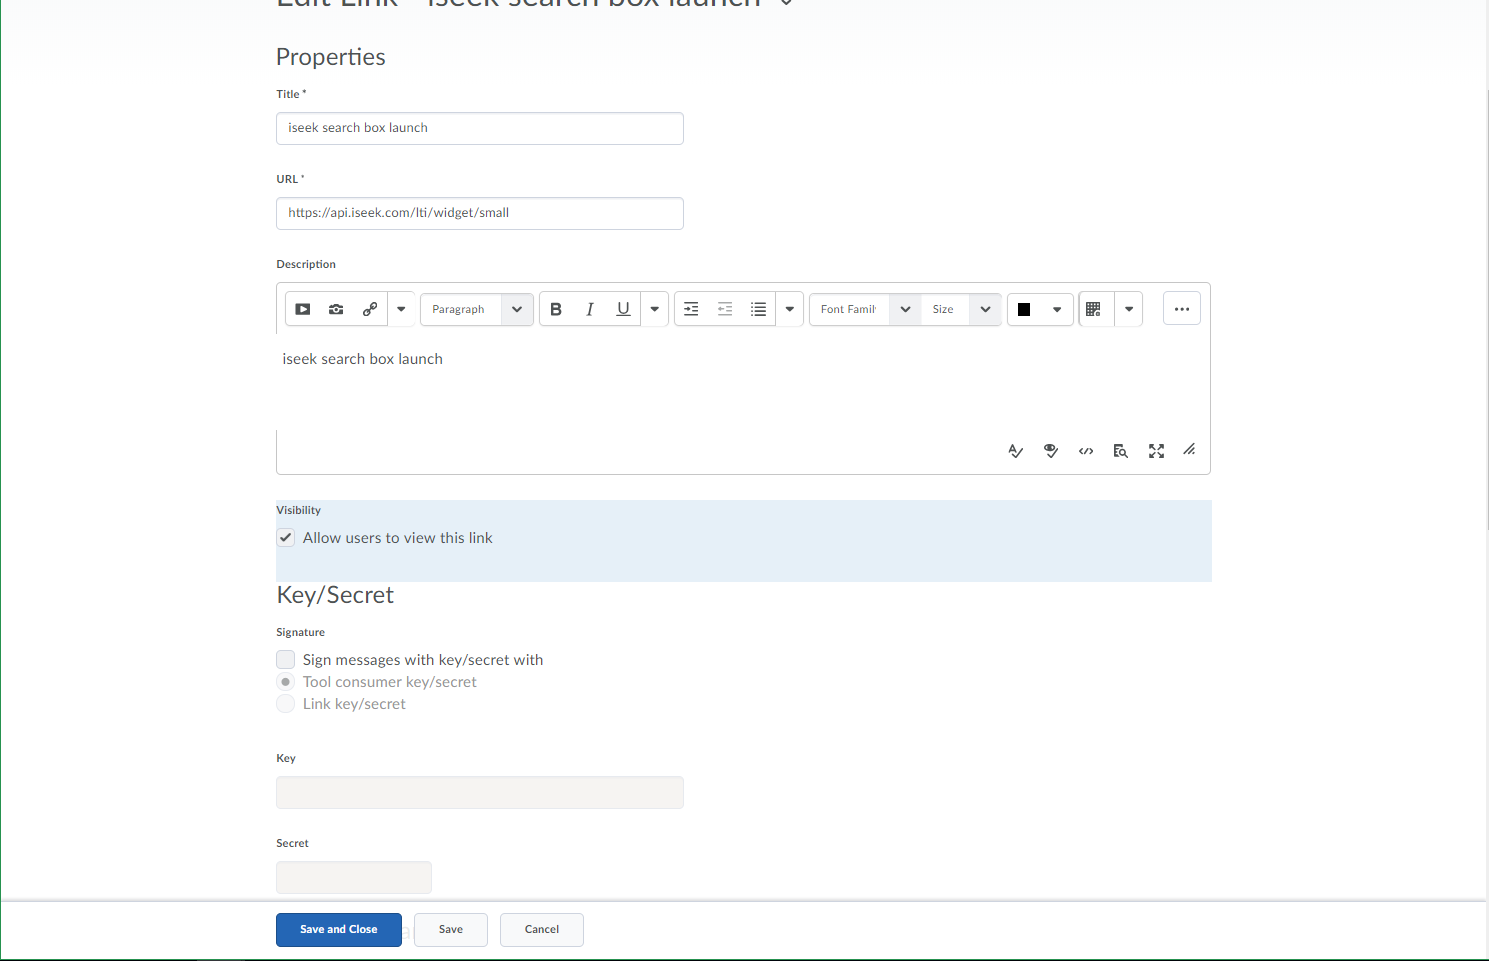
- Send both the Client ID (e.g. 109930000000000138) and Deployment ID (e.g. 350:4ea77b9a087da42c78e0aac53c02bebdb59817f7) to your iseek.ai Account Representative. Please also indicate whether you would like to be configured for the optional Search Box integration below.
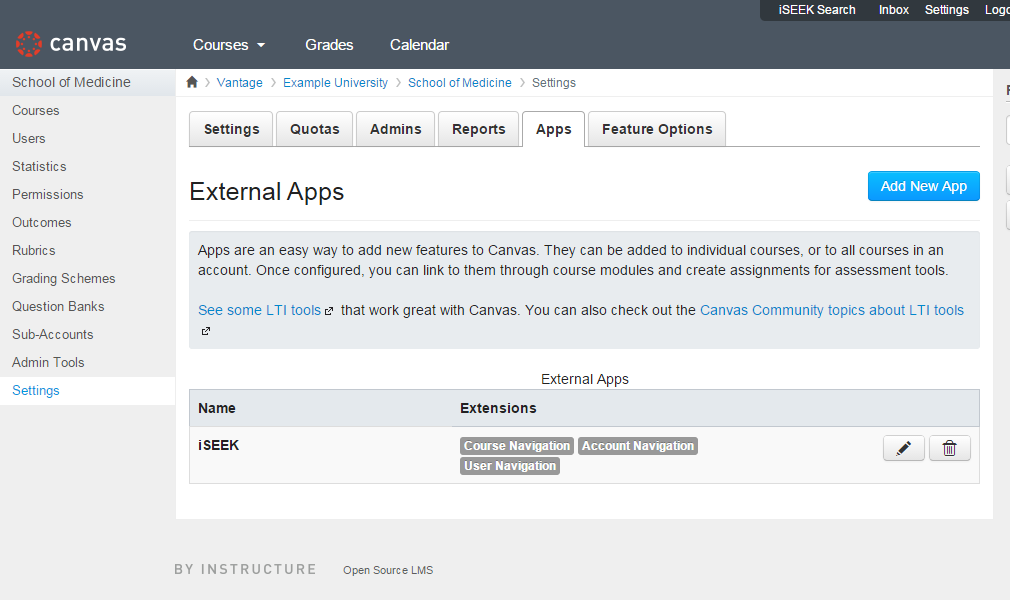
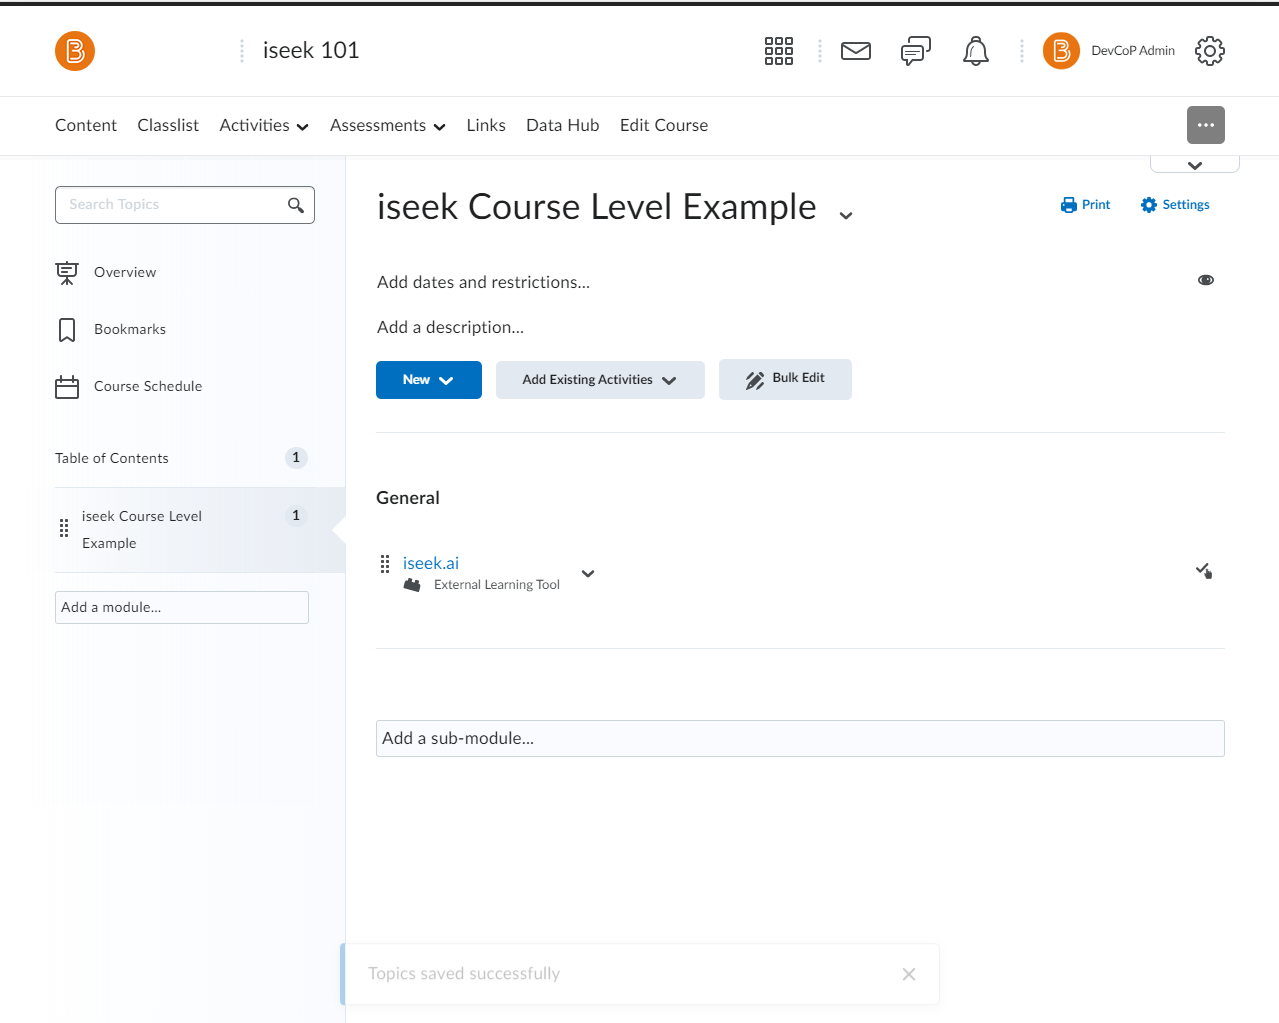
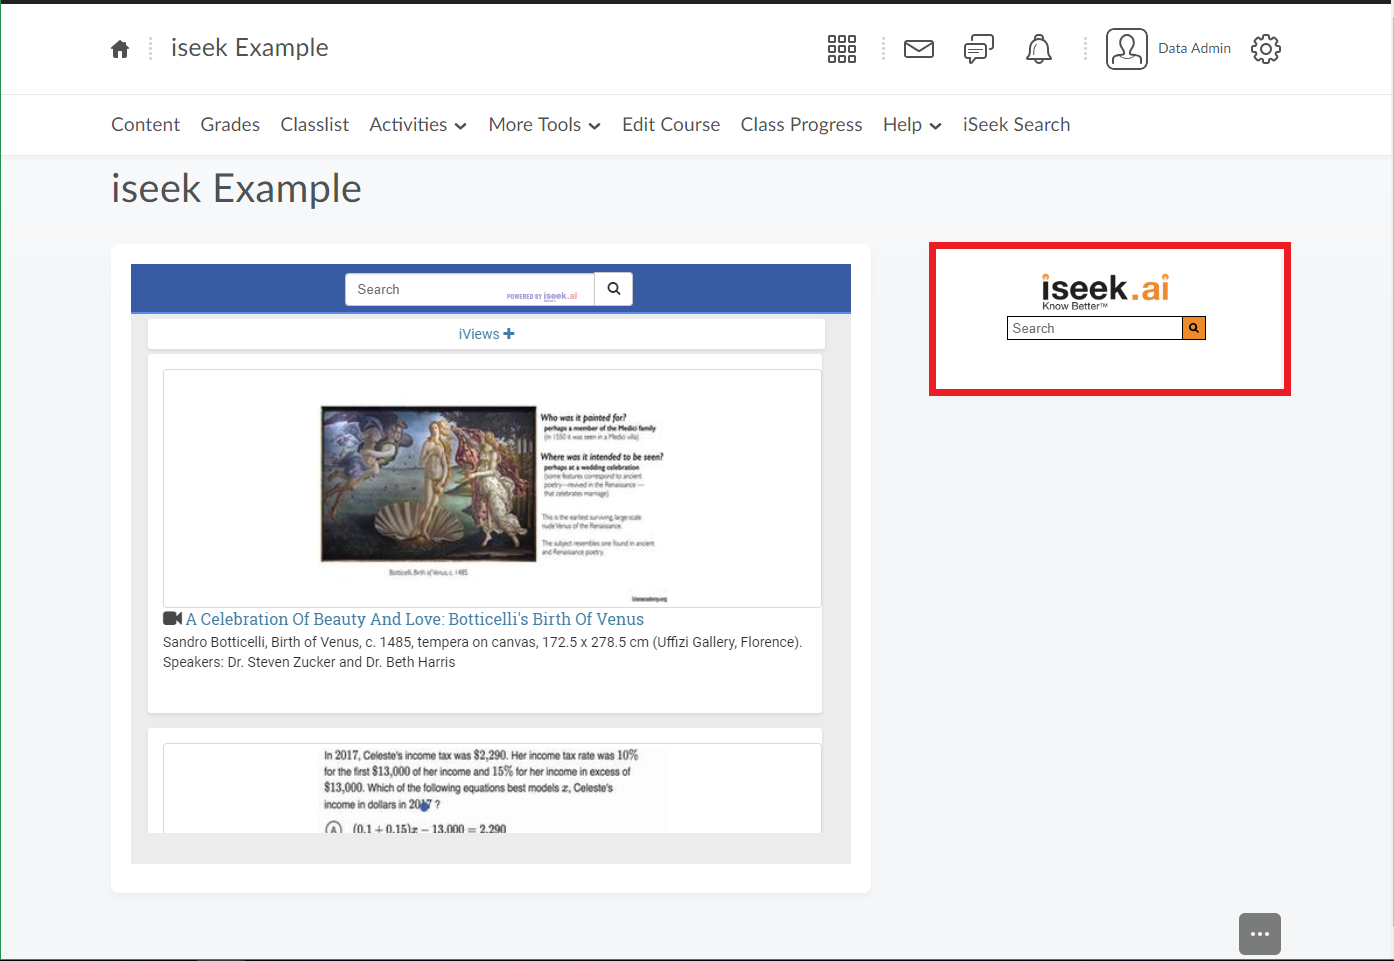
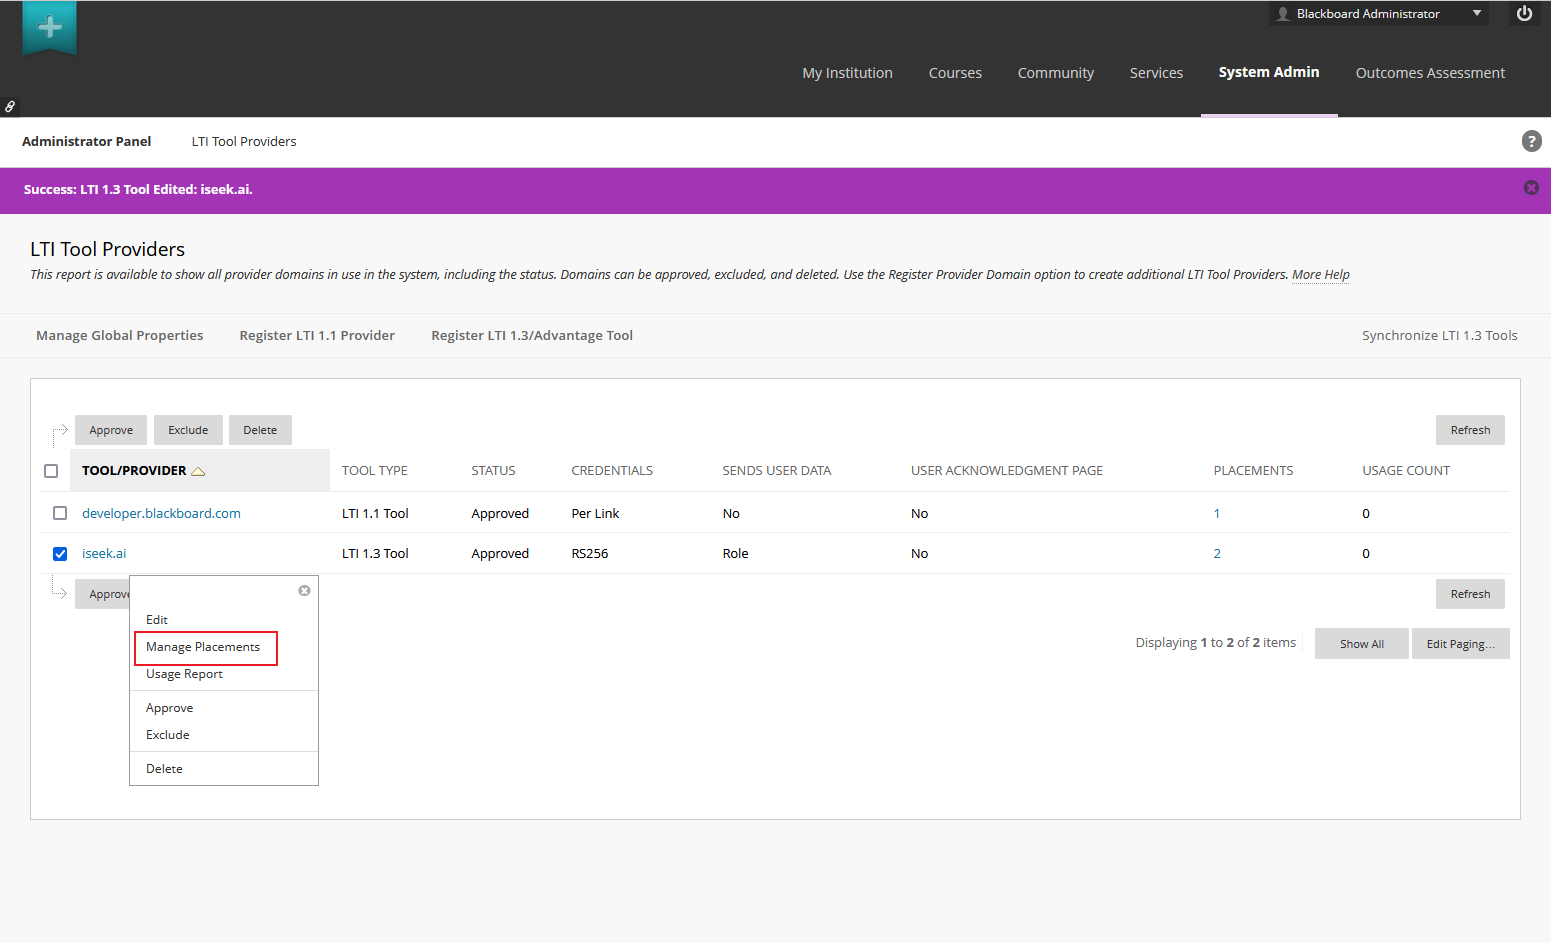
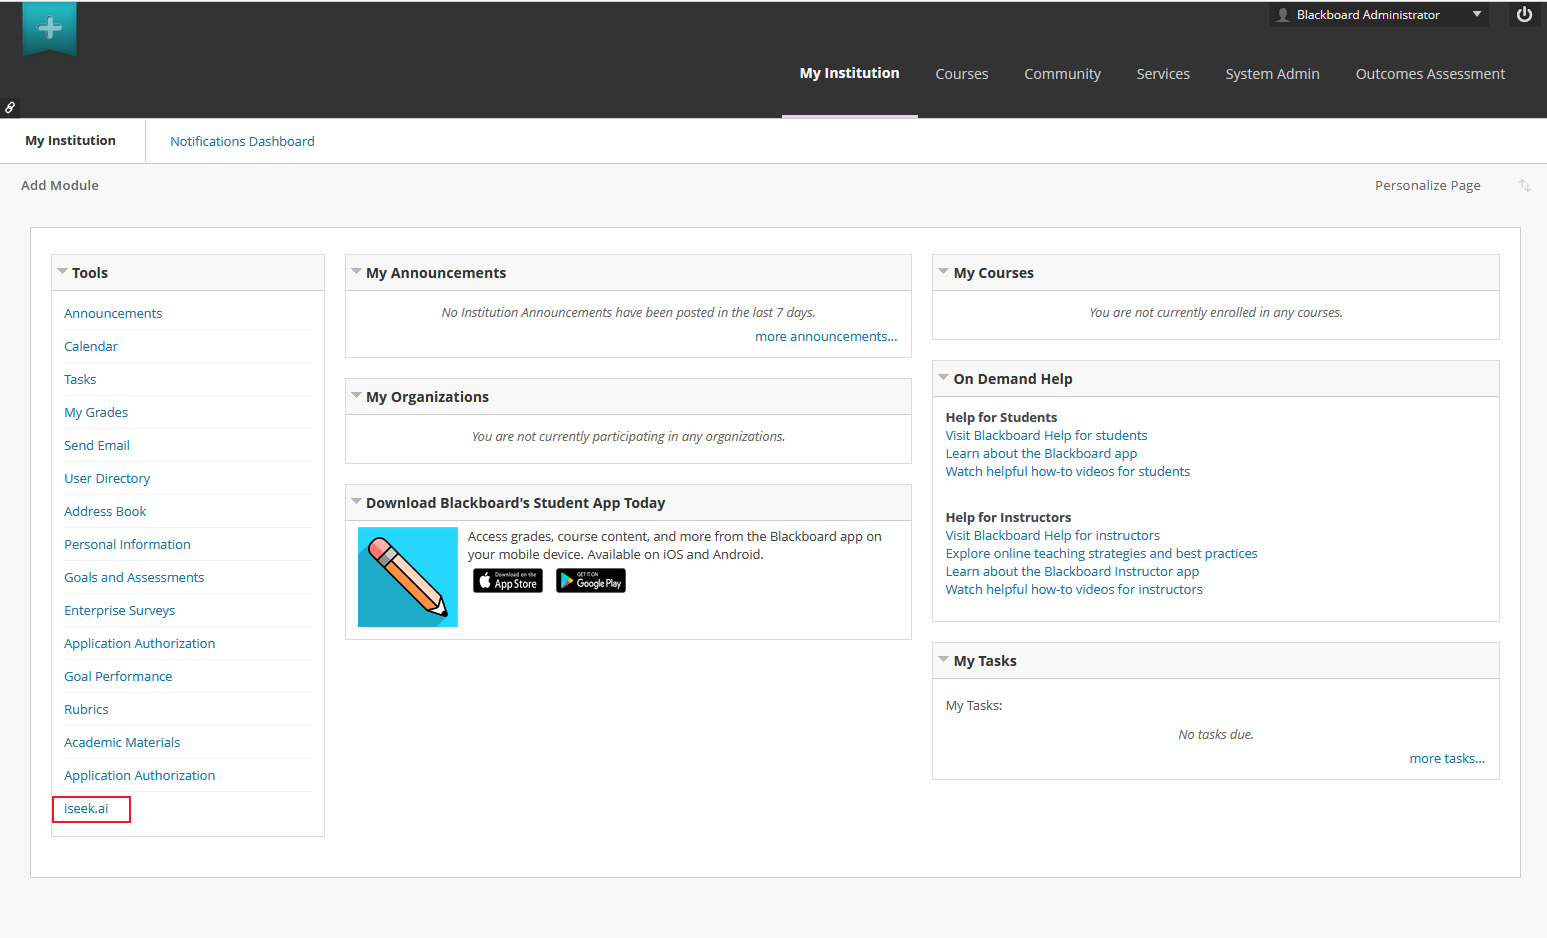
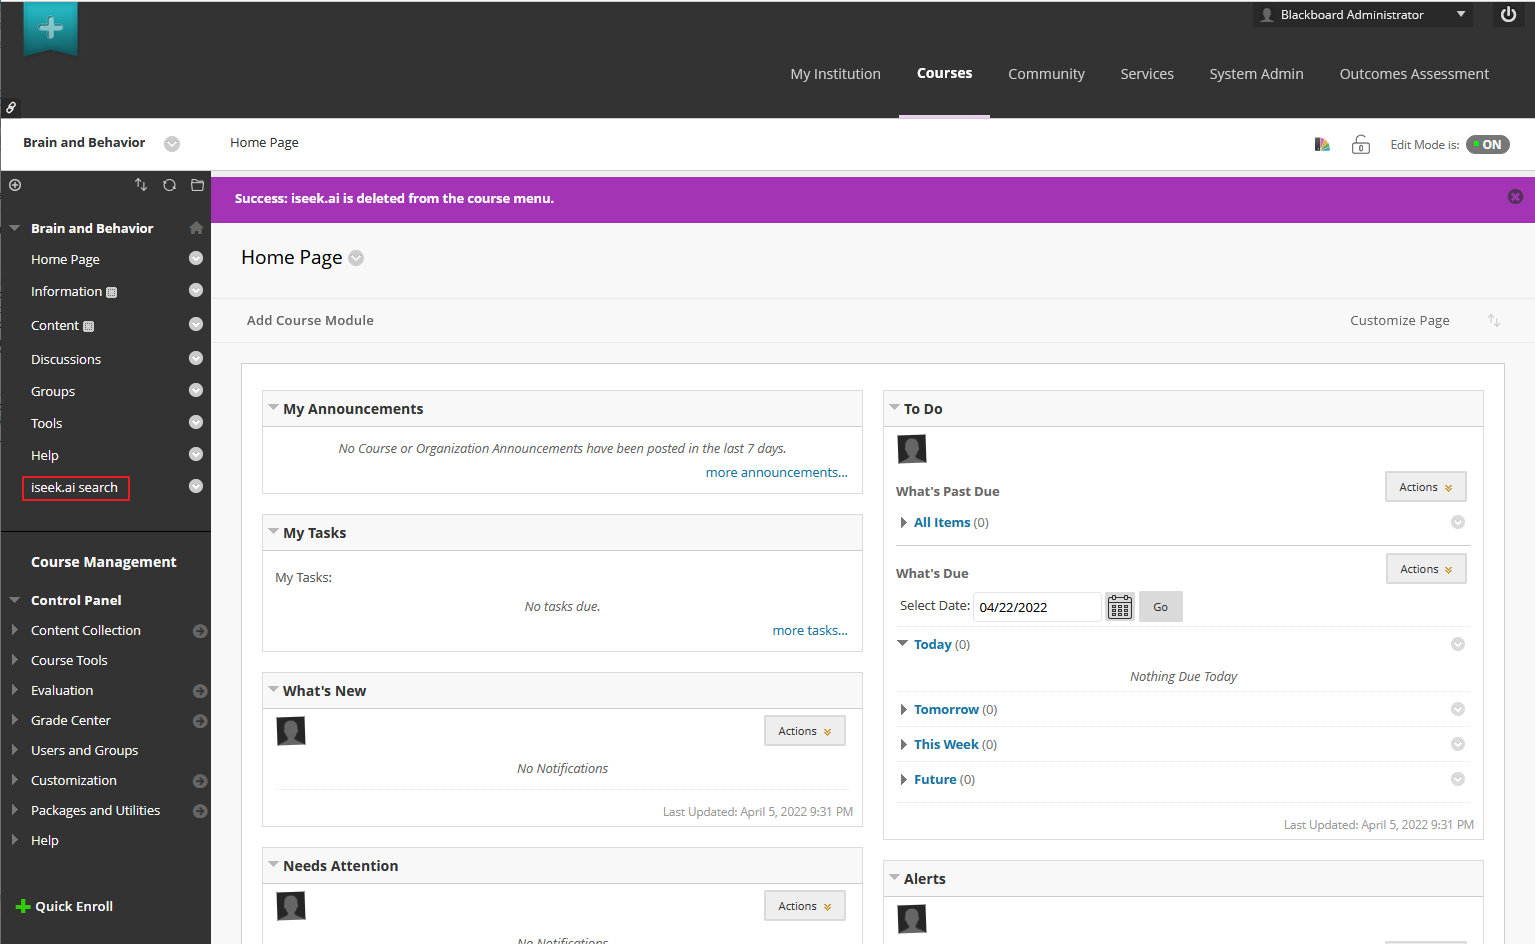
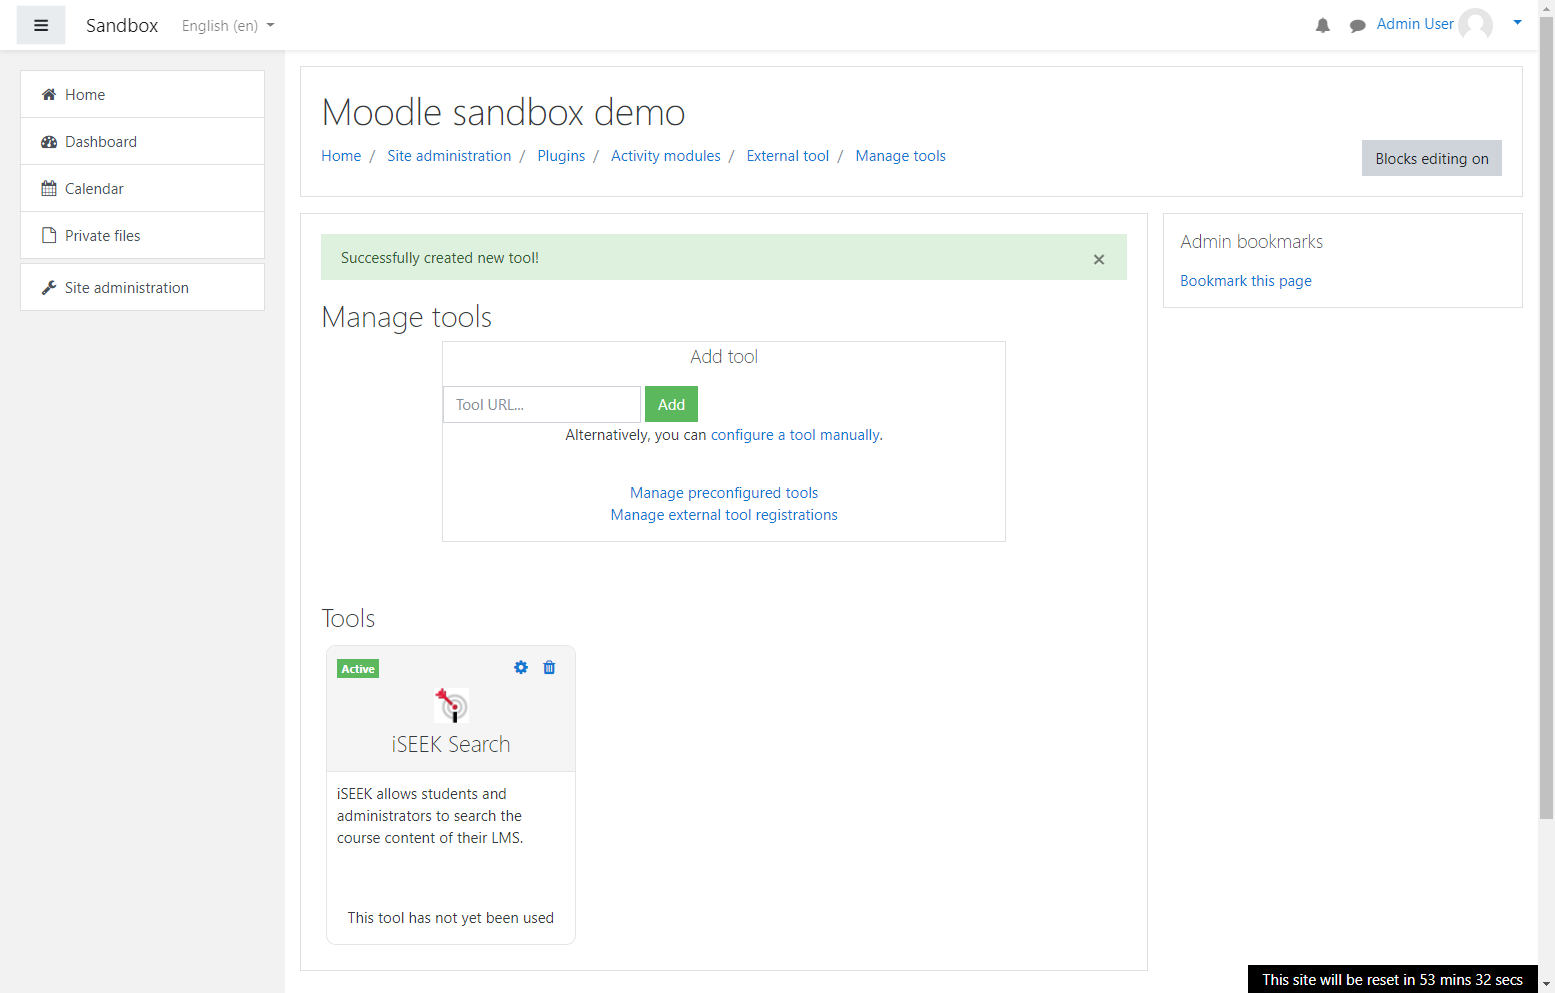
Iseek will now show in your list of external applications. After refreshing the page, a new link iseek search will appear in the course, account, and user navigation menus. Please note that until the iseek.ai Team has configured your Client ID and Deployment ID, the search will not function.
Next - Add Search Box to Canvas Header
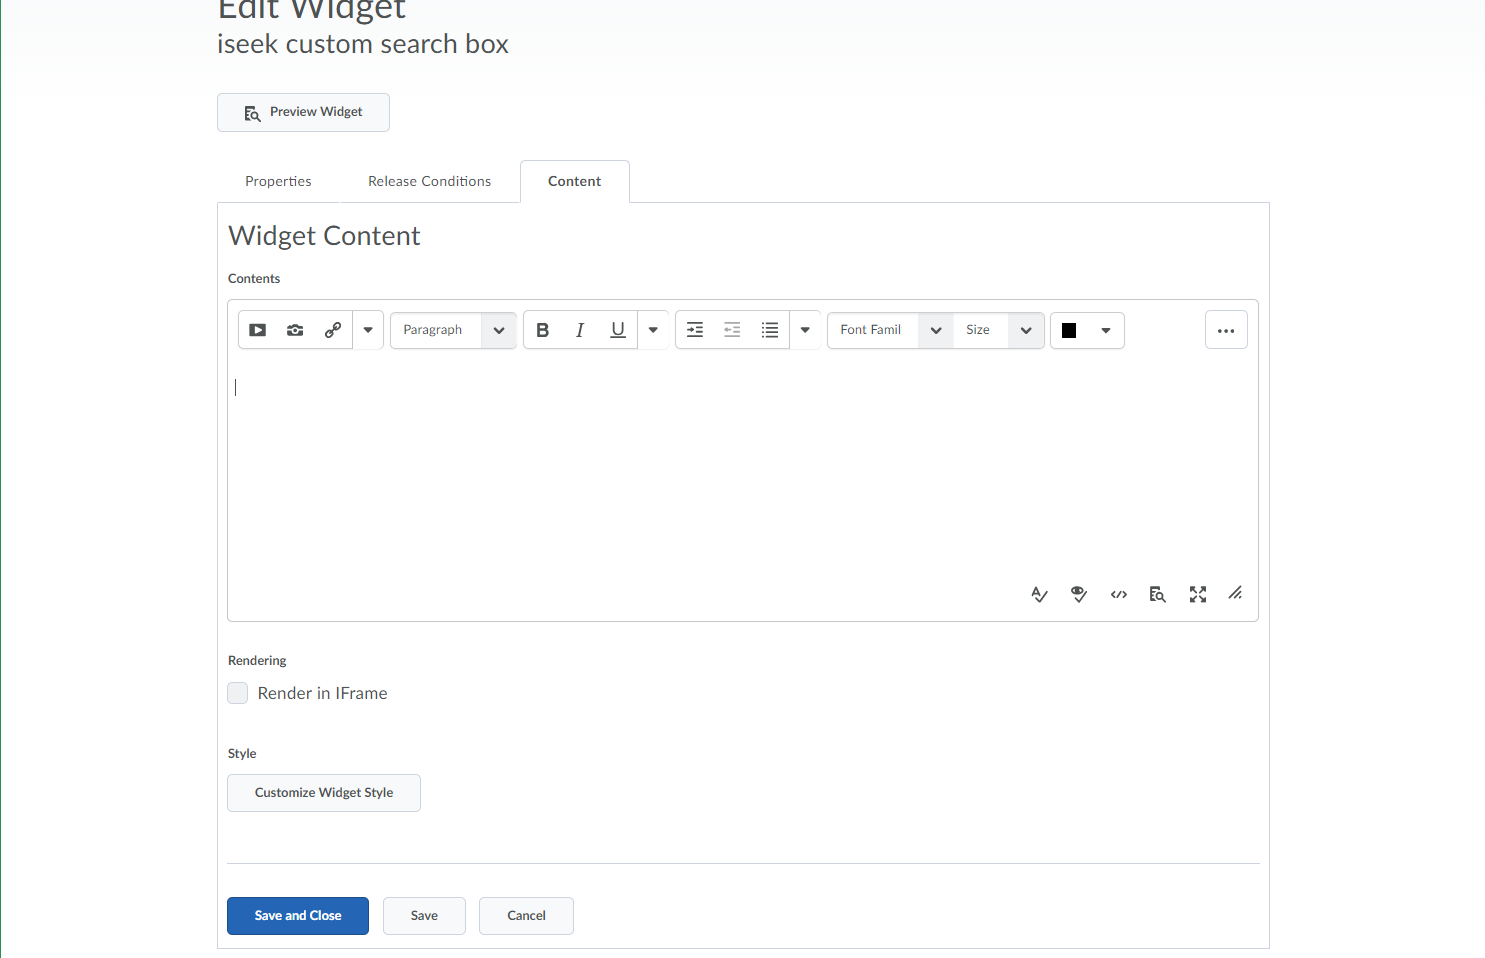
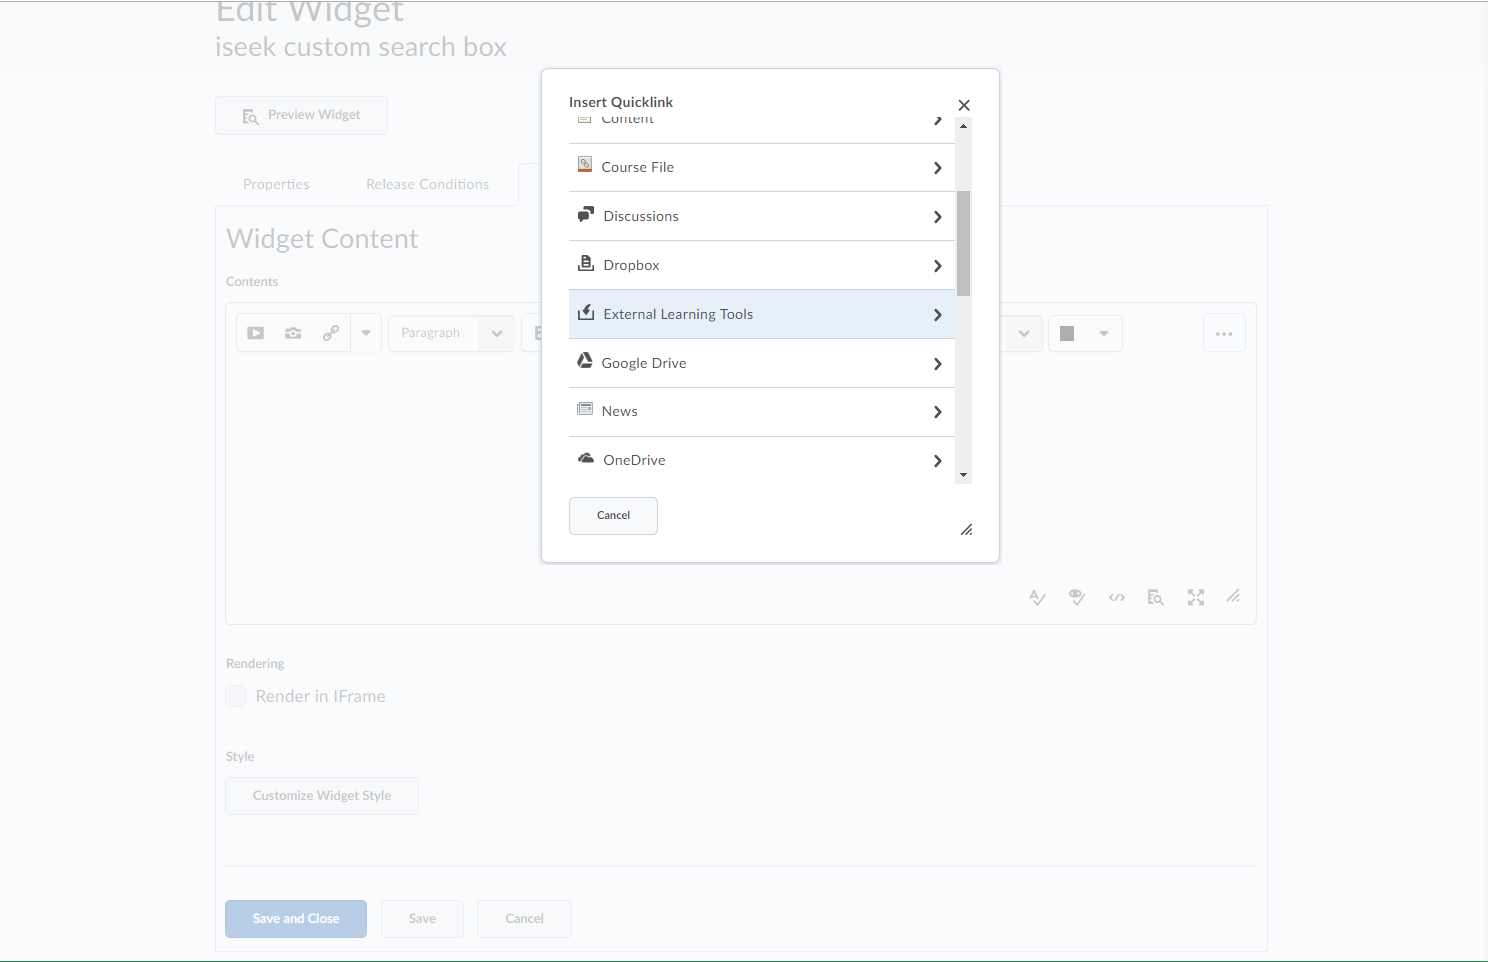
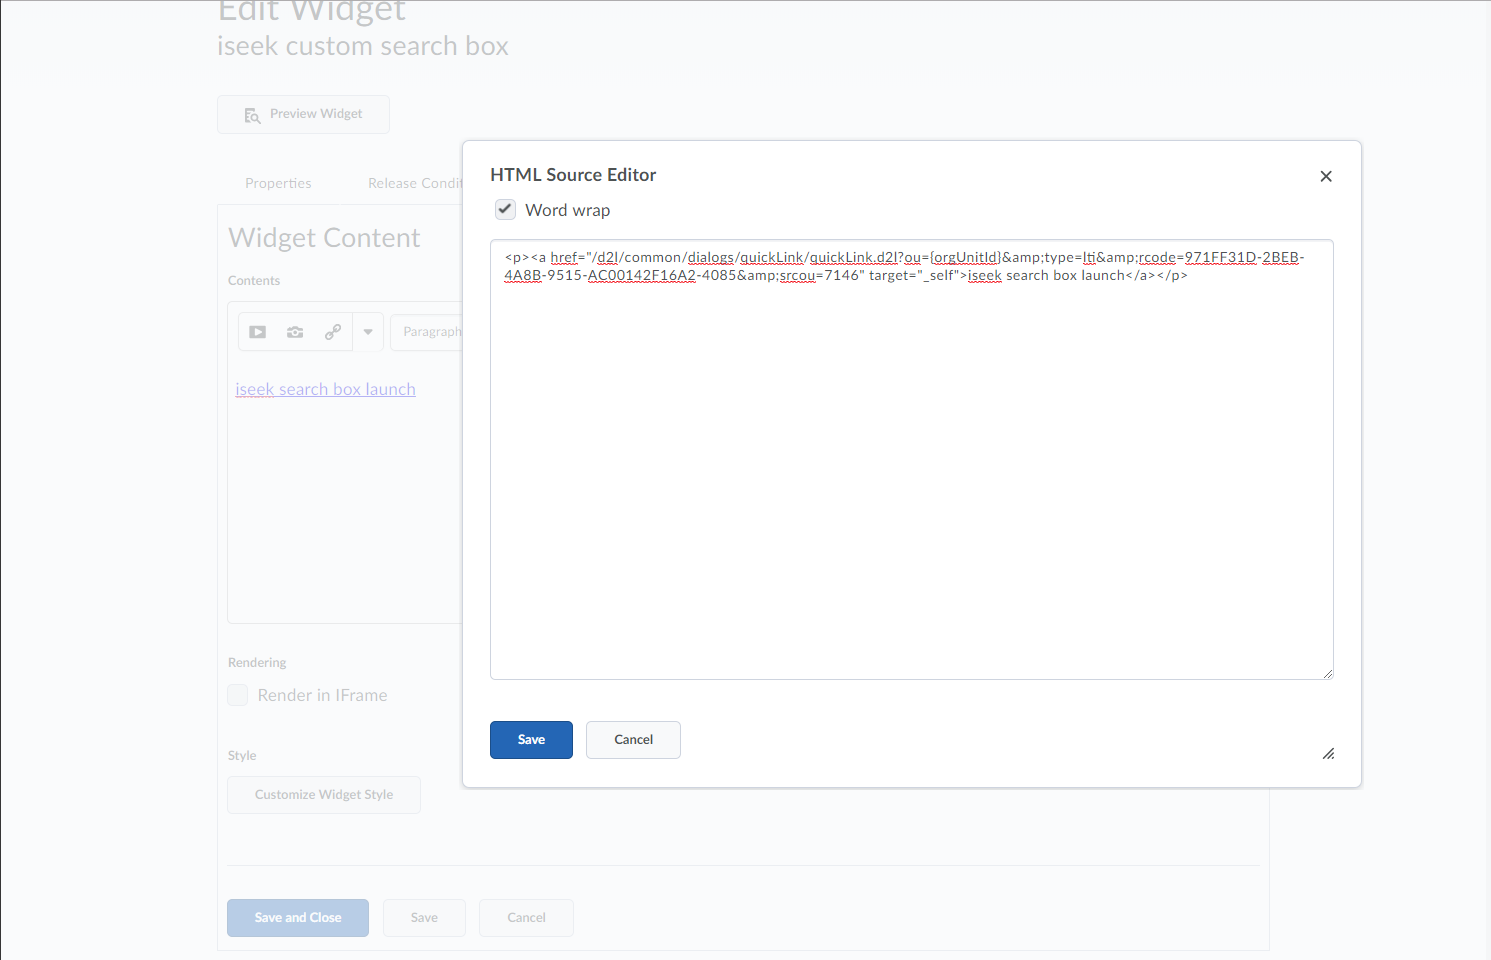
Follow these instructions to replace the iseek search menu link with a search box in the breadcrumb area of Canvas.
- Please note that by default iseek is configured to require the Search Box for Canvas and no LTI frame will be displayed until the Search Box is present on the page. If you do not wish to implement the Search Box, please contact your account representative and we will configure your search accordingly.
- Click on Settings tab to return to general Account settings.
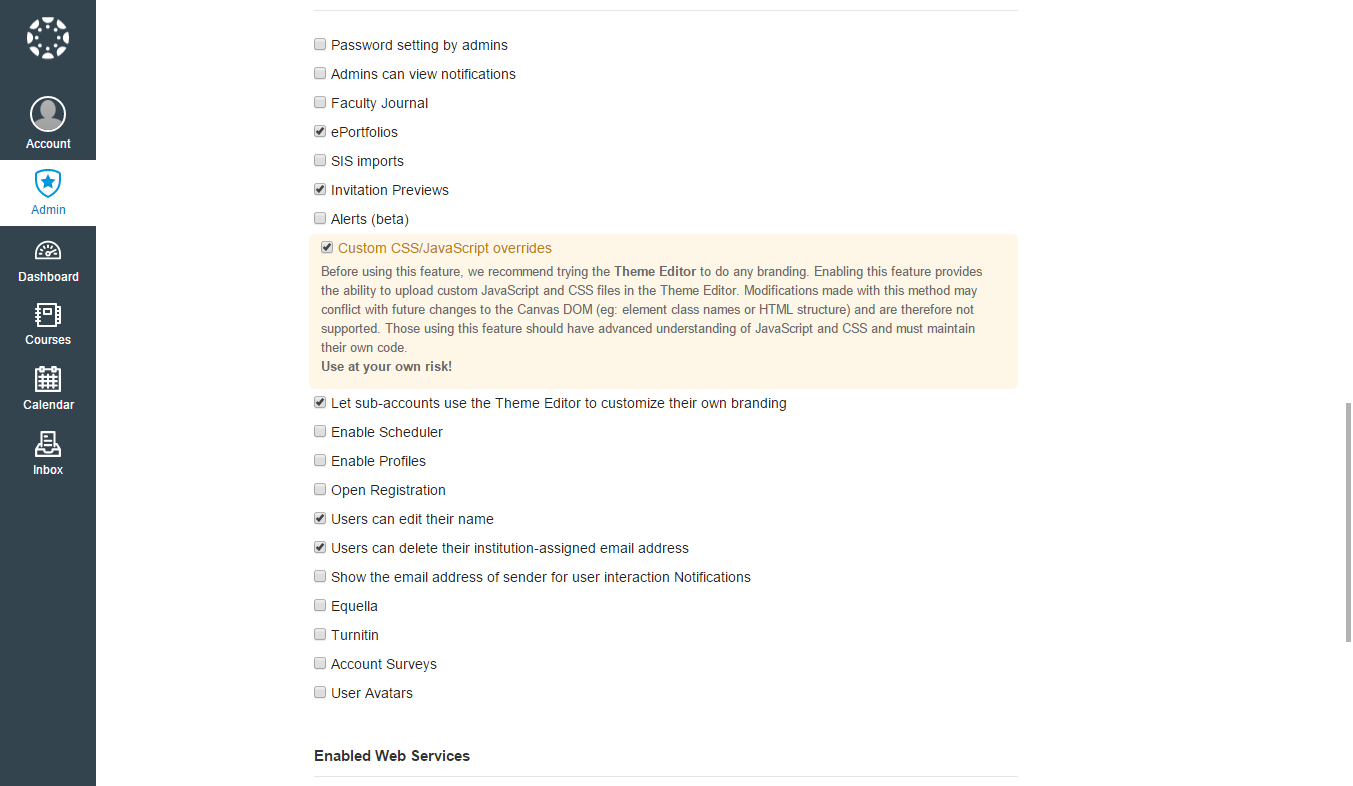
- Enable Custom JavaScript and CSS Overrides by checking the box. If this checkbox is not visible, then it must be enabled at a higher level Canvas Account.
- Enable Theme Editor as well, in the next checkbox.
-
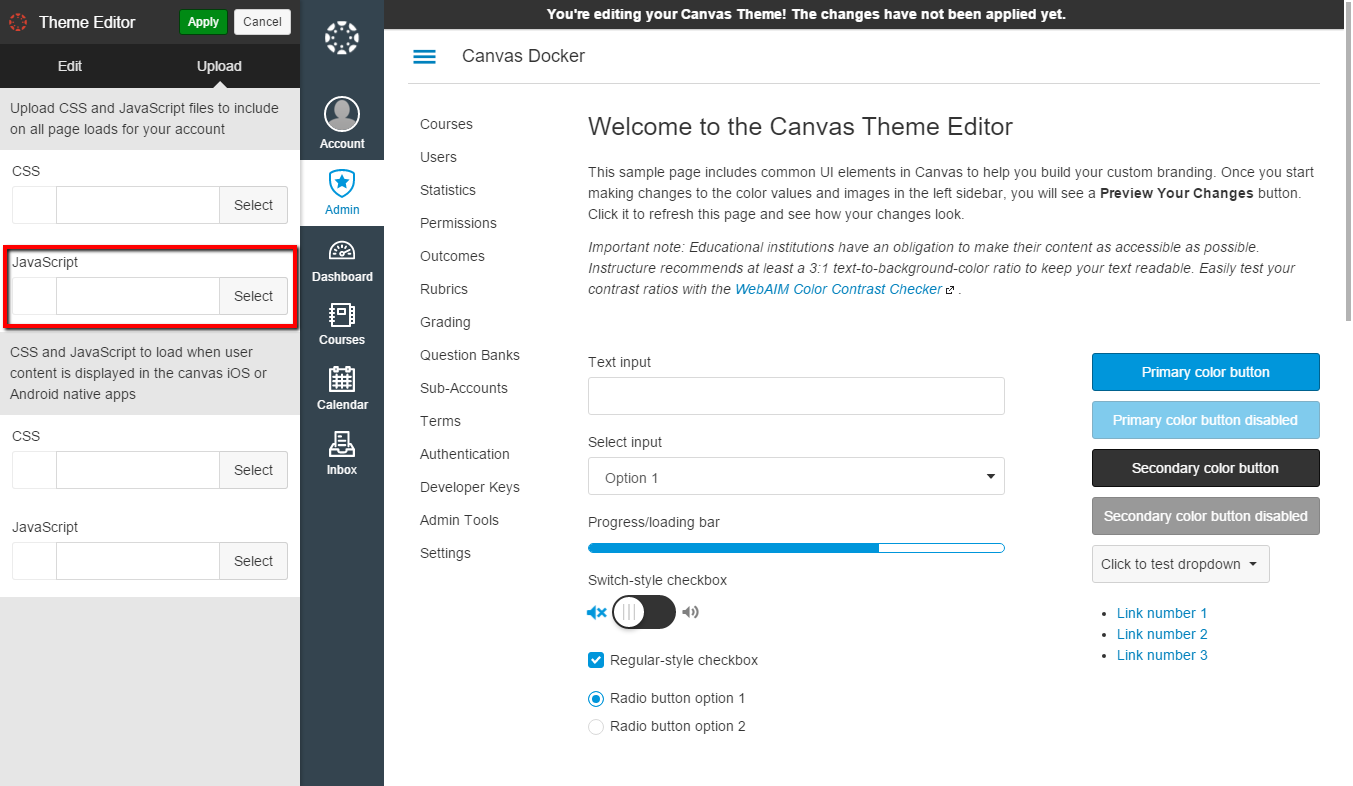
Iseek uses JavaScript to write the Search Box to the page, so we must point Canvas to the code. This is done through the Canvas Theme Editor.
- Open the Theme Editor for the Sub-Account level that you wish to make the Search Box active.
- Click on the Upload tab, there should be an option to select a JavaScript file (if not, the account settings are incorrect for JavaScript).
- If there is currently no file used, save the following file locally, and then upload via the Select button: canvas_ui.js
- Otherwise, add the following snippet of JavaScript to your existing file:
$.getScript("//api.iseek.com/dc/canvas_load.js?display_mode=0");
- Finally, click Preview and then Apply.
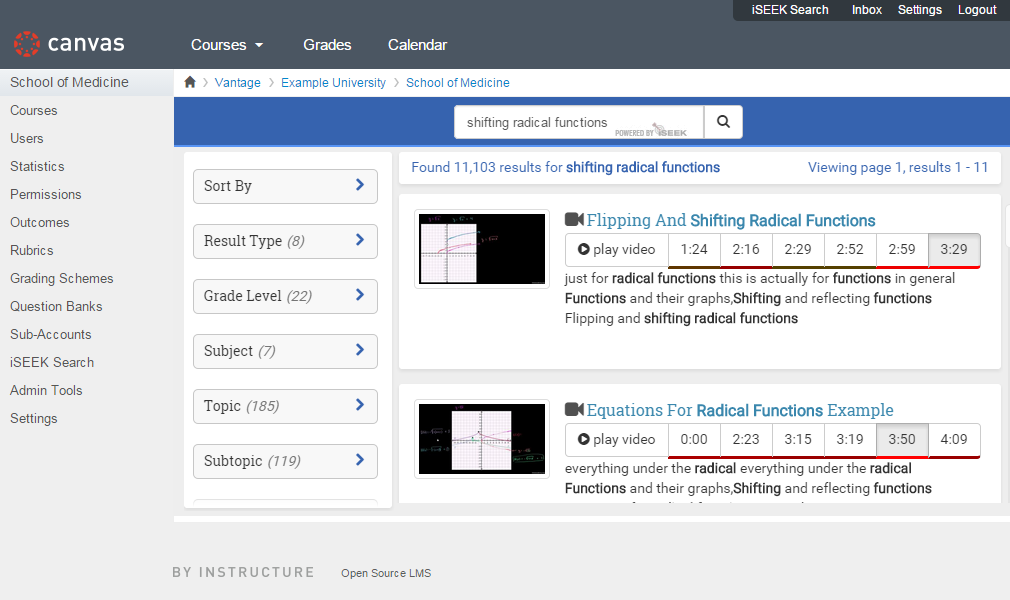
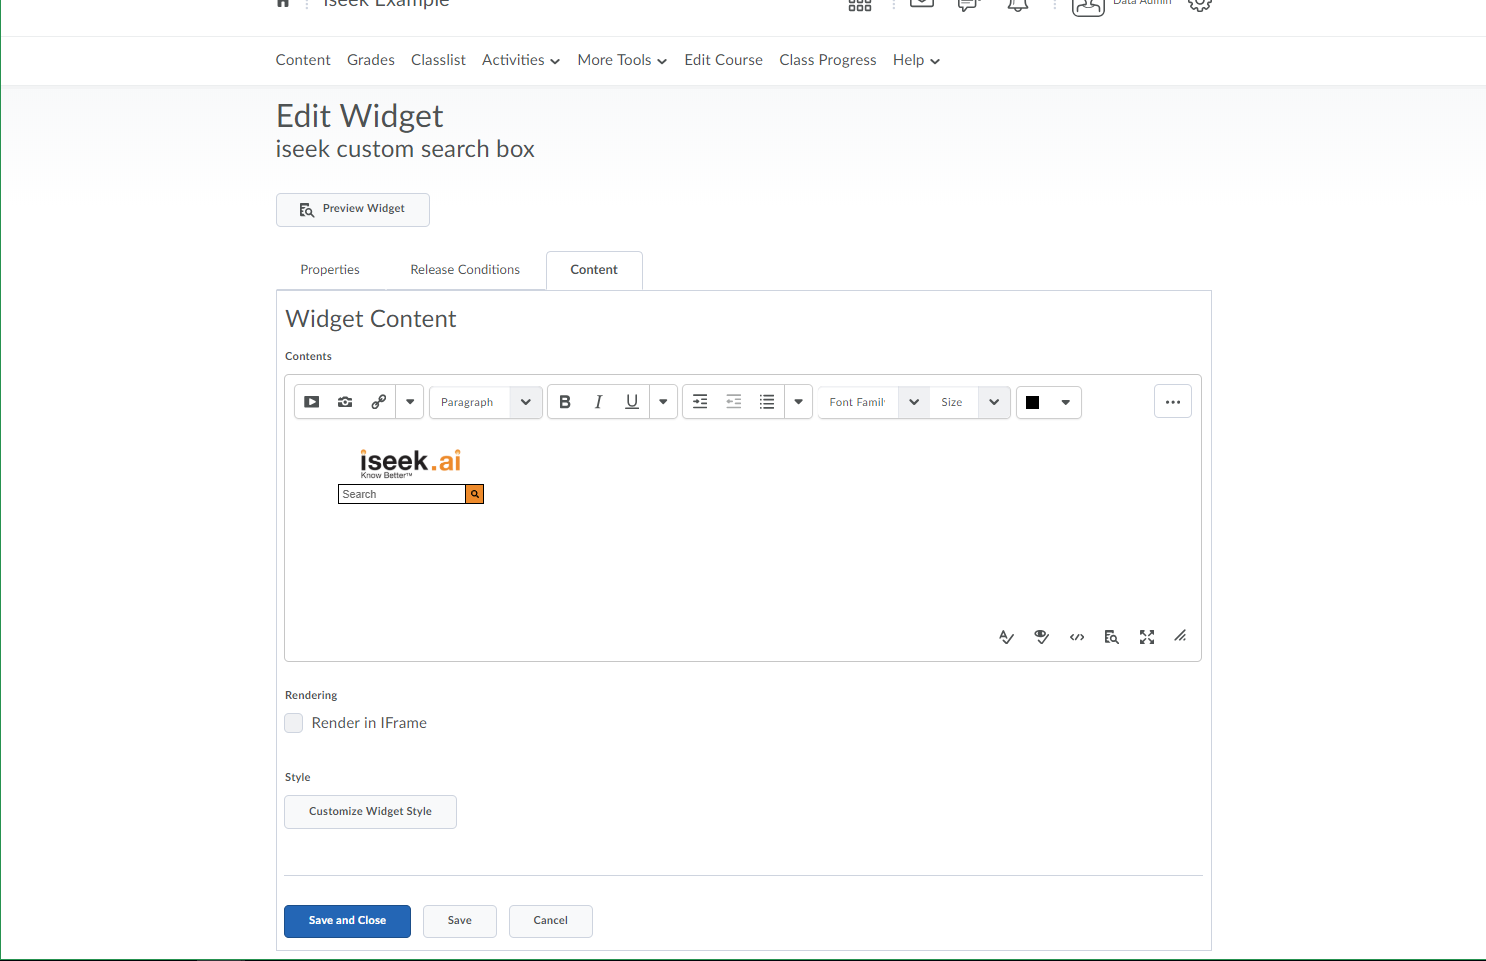
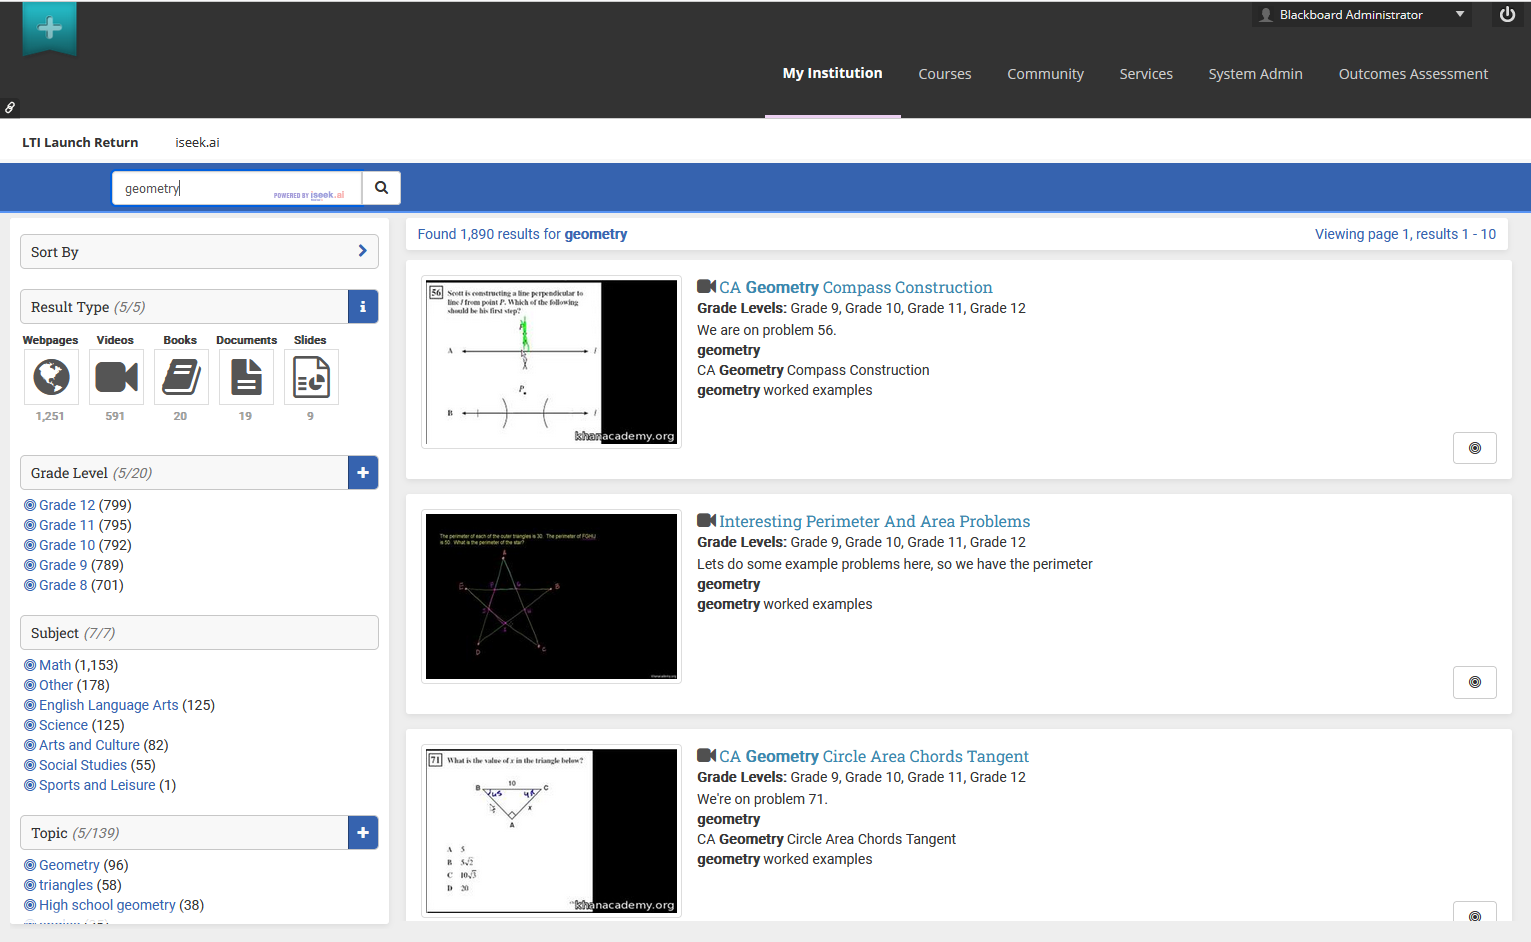
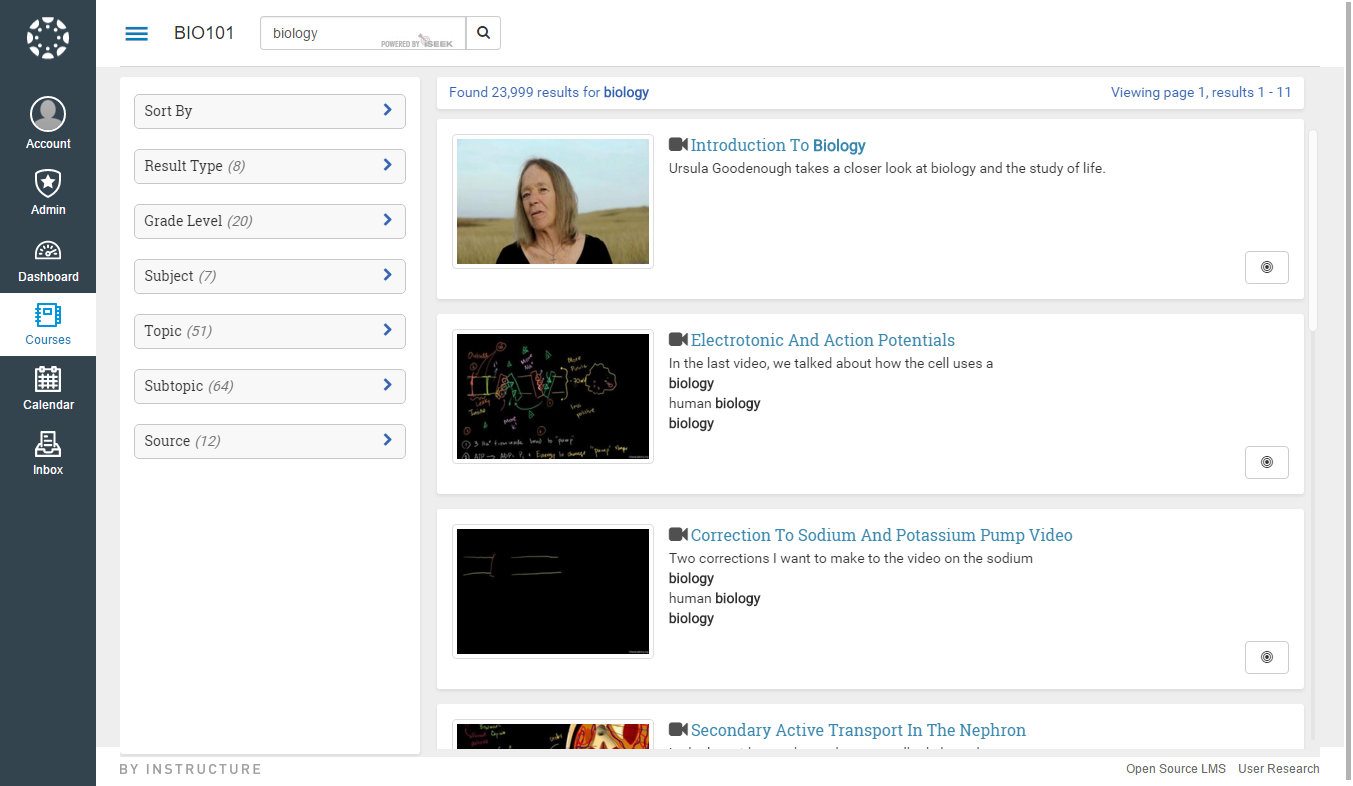
The iseek search box will now appear in the Canvas breadcrumb navigation area when the course is active.
Advanced - Search Box Mode 1 (Dashboard)
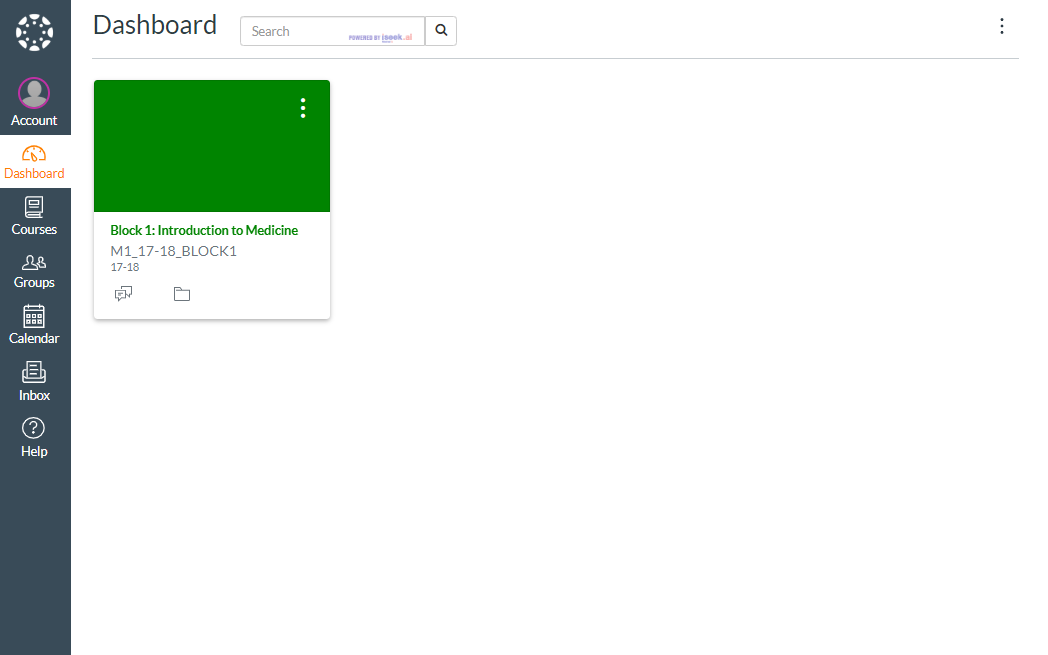
In Mode 1, the Search Box is visible with the left-side navigation, as in the default Mode 0. Mode 1 adds display of the Search Box to the Dashboard after login.
- Change the "display_mode=0" parameter to "display_mode=1" to enable this feature.
The iseek search box will now appear on the Dashboard after login. Because Canvas requires a Course or Account context to launch an External Tool like iseek, we must choose a Course for the user. Mode 1 selects the first Course (or Account) available in the list of enrolled Courses for the user.
Advanced - Search Box Mode 2 (All Pages)
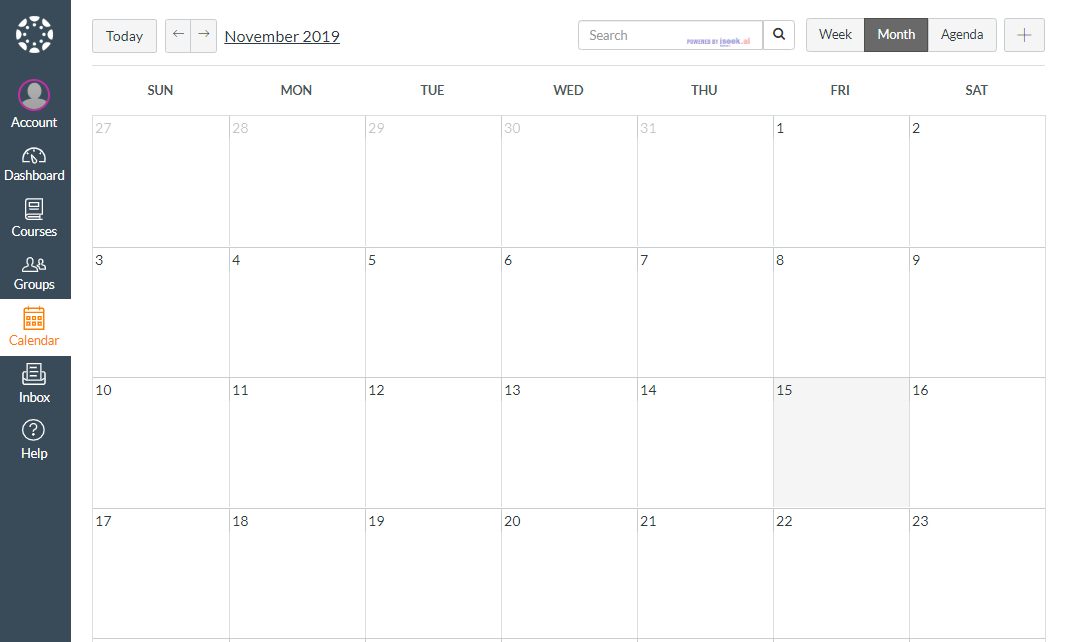
In Mode 2, the Search Box is visible on all pages when a Course/Account context may be determined automatically.
- Change the "display_mode=0" parameter to "display_mode=2" to enable this feature.
The iseek search box will now appear on the Dashboard, Calendar, and other pages. Because Canvas requires a Course or Account context to launch an External Tool like iseek, we must choose a Course for the user. Mode 2 selects the first Course (or Account) available in the list of enrolled Courses for the user.
Advanced - Search Box Mode 3 (Roles)
In Mode 3, the Search Box is visible on all pages, as with Mode 2. However, instead of automatically choosing a Course context, the Course target is determined by the Role of the current user. This allows specific Course targets to be chosen per Role - for example, a "Student Lounge" Course might be the landing site for Student roles.
- Change the "display_mode=0" parameter to "display_mode=3" to enable this feature.
- Iseek automatically determines the user Role, but you must configure the Course or Account target for each user Role for which you wish to display the Search Box.
- For each Role you offer search, a &role_[role_label]=/courses/[course_id]/external_tools/[external_tool_id] parameter is added. Where [role_label] (e.g. role_student) is the Role of the current user, [course_id] is the numeric id of the Course, and [external_tool_id] is the numeric id of the iseek External Tool within the Course. Please note that [role_label] is the lower case form of the Role, with no "Enrollment" text included (e.g. ). "TeacherEnrollment" -> "role_teacher").
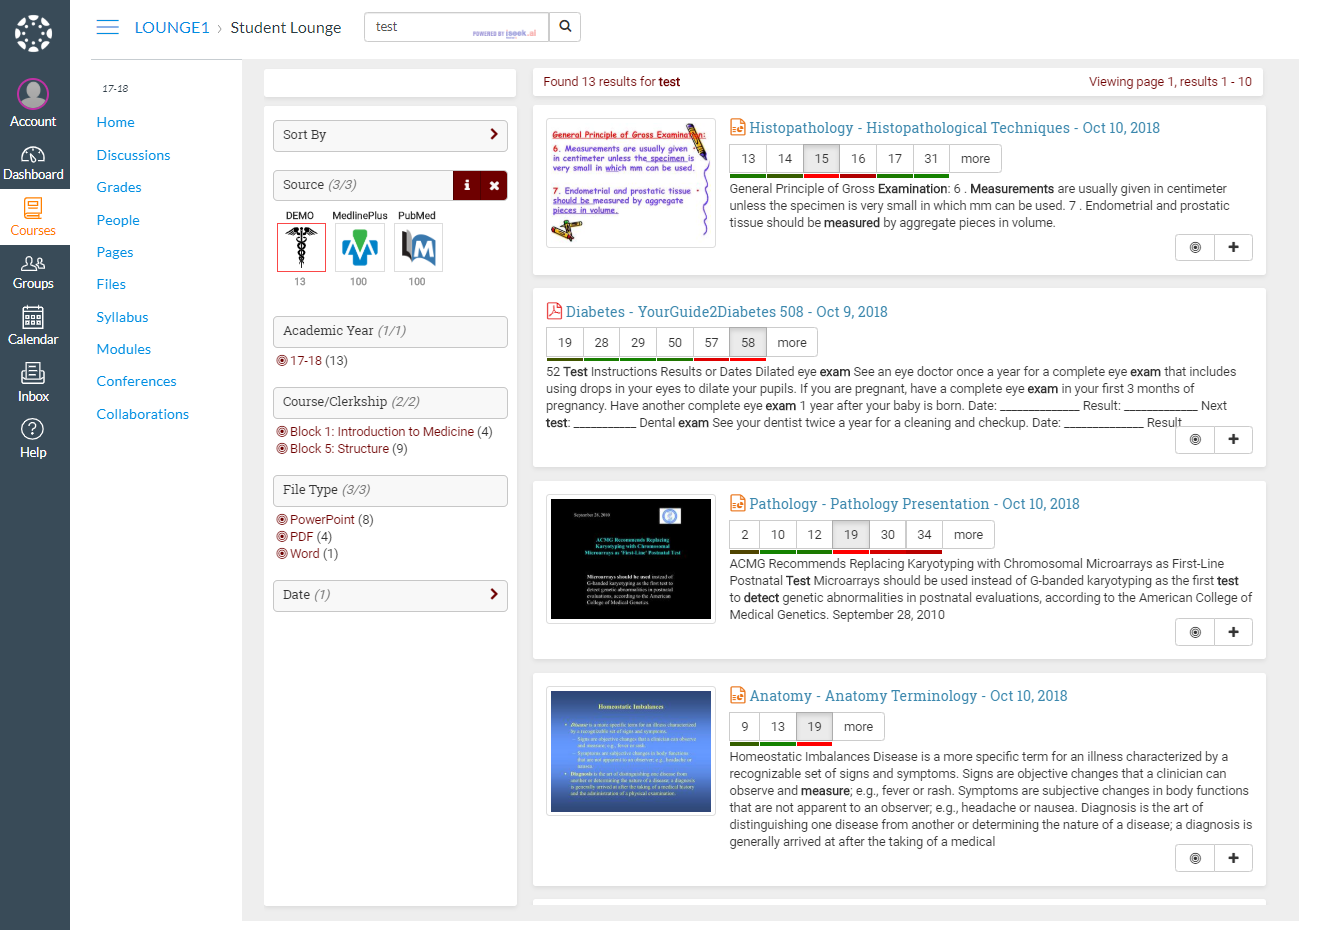
- To determine the [course_id] and [external_tool_id] values, visit the Course to initiate a search with iseek. Record the URL of the browser during a search within the course. For example: https://iseek.instructure.com/courses/32/external_tools/24?q=test
- Construct the parameter for the student Role using these values: role_student=/courses/32/external_tools/24
- Repeat for each User Role. You may optionally supply a "role_default" target context for Users that do not match your configured roles. If "role_default" is not supplied, the Search Box will not appear on the Dashboard for Users without matching Roles.
- Append your parameters to the original request: display_mode=3&role_admin=/accounts/23/external_tools/24&role_student=/courses/32/external_tools/24&role_teacher=/courses/33/external_tools/24&role_default=/accounts/23/external_tools/24
The iseek search box will now appear after login. Iseek will determine the most frequent Course enrollment Role of the user, and direct the user to the matching Course/Account context from your parameters. If the User is not enrolled in the target Course for their role, the Search Box will not be displayed on the Dashboard. The Search Box will always display within the Courses in which the User is enrolled (as is the basic behavior).